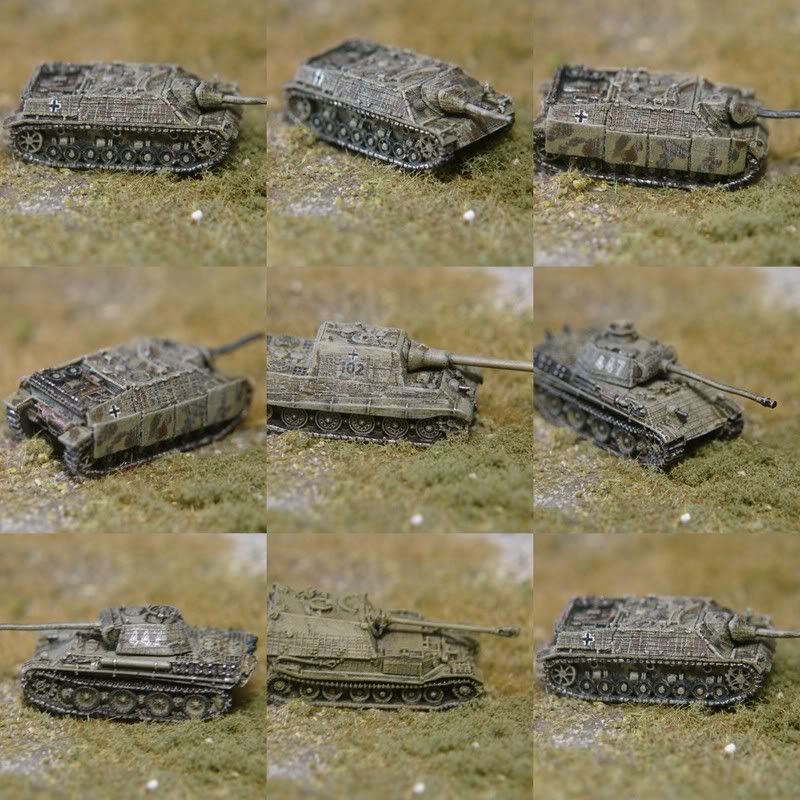
A while back in one of the many threads there was a Panther that someone (JB? Ritter?) zimmerited. I have gone through 20 pages of show us your stuff, but don't seem to be able to find it.
I am doing something similar but I'm having problems with the turret and just wanted know what you guys did. The hull is going OK though. Any pointers would be greatly appreciated.
Thanks for the comments chaps - pushbike, thanks for the pointer. I was beginning to think that I may have dreamt it all!
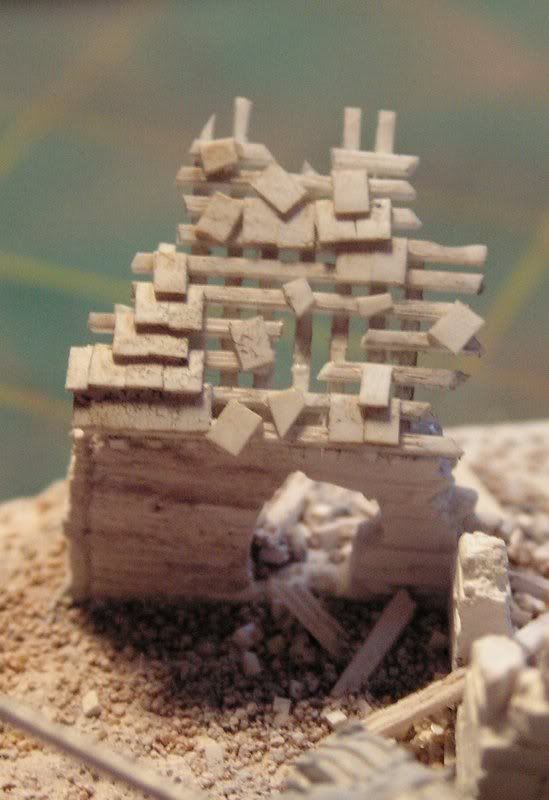
The ground work is at its second stage. I use a layering technique - working from mud level upwards. What you can see is the basic ground level, next to be applied will be foliage that would have a real height of maybe up to six inches, then a layer up to twelve inches then bushes and finally trees. Each layer gets painted before the next goes on. Bushes and trees are painted seperately then drilled into the base.
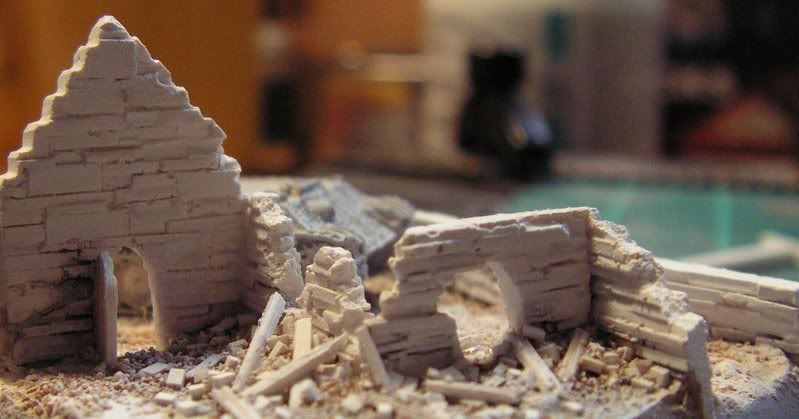
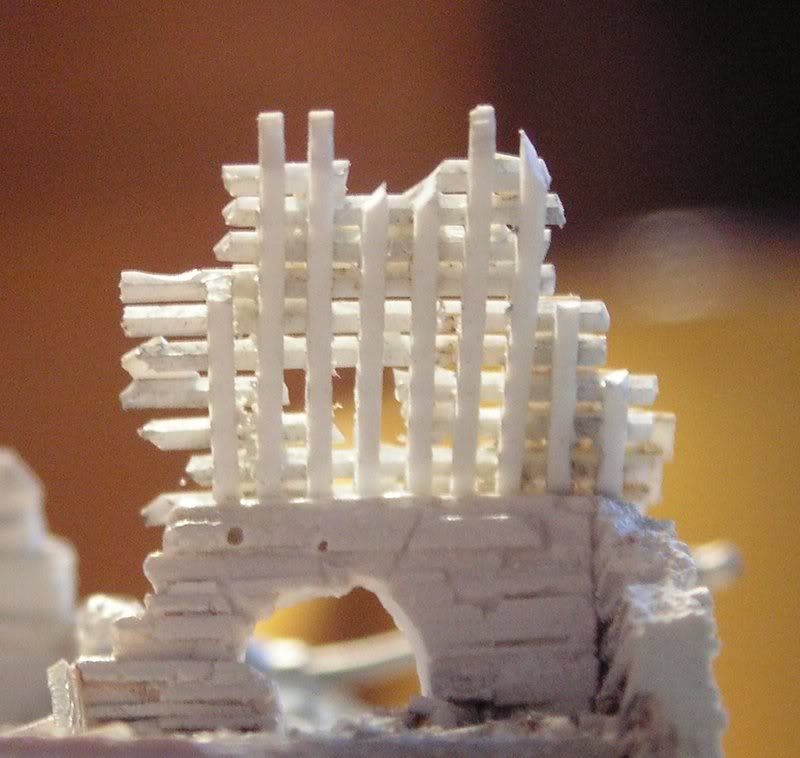
At the risk of being boring here is a picture of the interior of the church. My only problem is that I wish I had remembered to make and fit the pews before filling the interior with rubble!
The walls are a plaster cast taken off a flat scratch built prototype. Getting the building to this stage has been ok to do, its the roof I'm not looking forward to! All those little slates
I'm working away for the rest of the week, but will try to keep you posted on how it all goes.
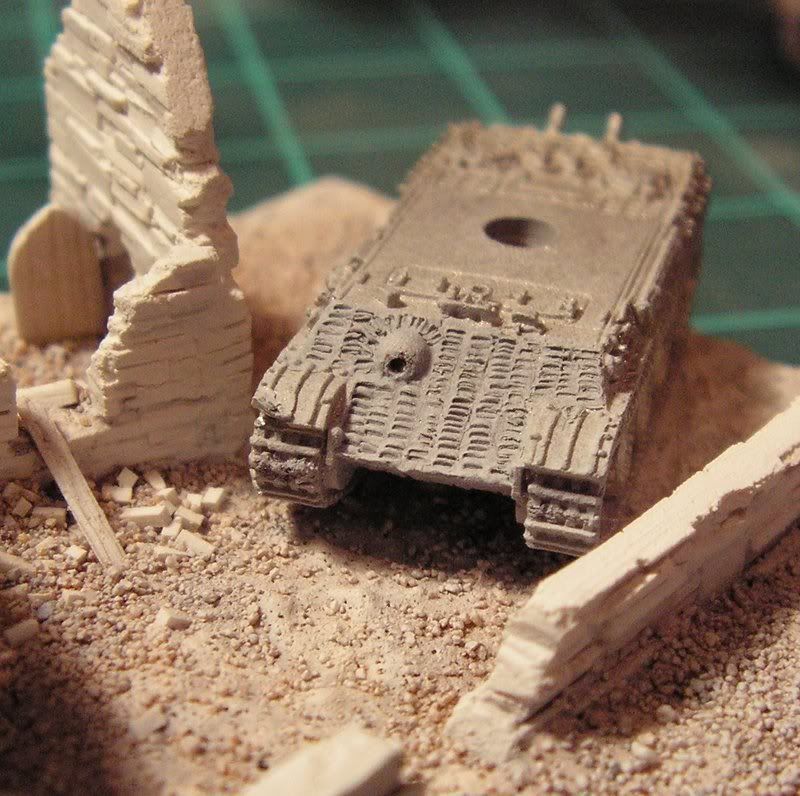
Miffster, nice work on the Zimmie. I usually scrbe mine with an X-acto knife. I like the effect you have, if I did it with plaster it would come out too "meaty"
miffster wrote:
I am doing something similar but I'm having problems with the turret and just wanted know what you guys did. The hull is going OK though. Any pointers would be greatly appreciated.
I plan to hide the dodgy bits with foliage camo.
Many thanks
Matt
I do beleive you want to do the gun mantle and front slope Mg ball mount. If so you need to get a "brand new" Xacto blade and "carefully" scribe it in. You can do it!