"Well, I've been to one World's Fair, a picnic, and a rodeo, and that's the stupidest thing I ever heard come over a set of earphones. You sure you got today's codes?"
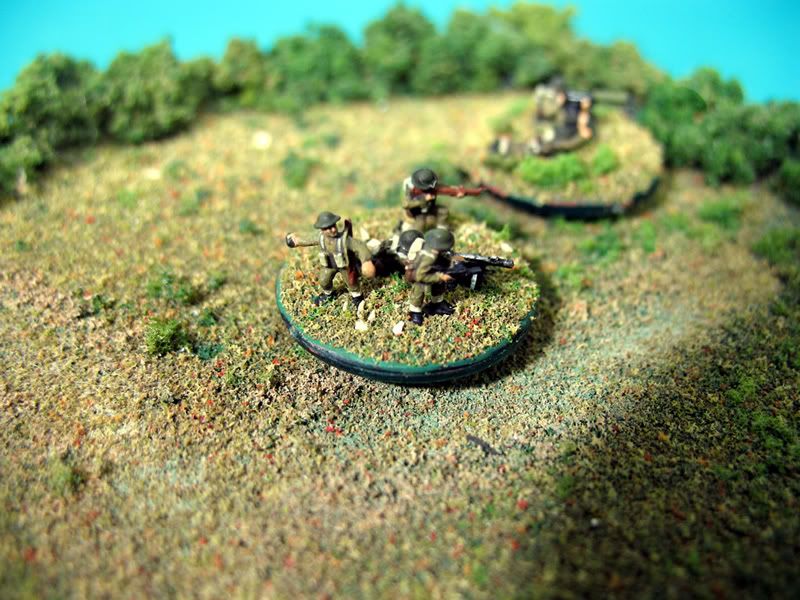
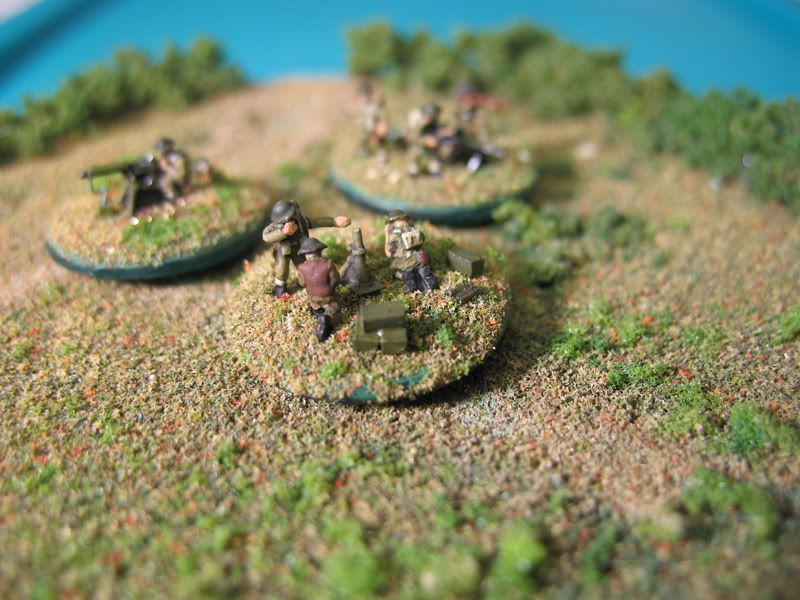
My latest run of Infantry converts - Canadian WWII Infantry. Uniform color is a real issue with me - having had an actual WWII Canadian tunic, I was not happy with the Humbrol 26/29 suggestion for Khaki. I instead used 150 mixed with 119 in equal parts and was pleasently surprised by the accuracy of the finished color. The result is a slightly greener Khaki and looks right to me.
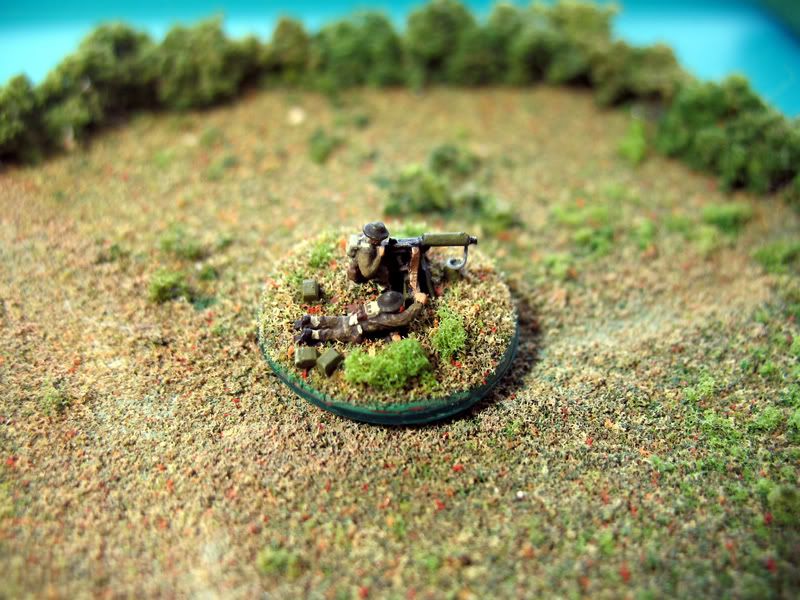
The Vickers MG is from the UK Desert H/W blister which is not available -yet?! - for Western Europe. Pants were added, as well as a water can and hose. Empty shells added under the gun from fine brass rod cut into 1mm lengths but the pic only shows them a little - too bad - they look good. Loader is converted from the 51mm mortar crew in the UK H/W Blister.
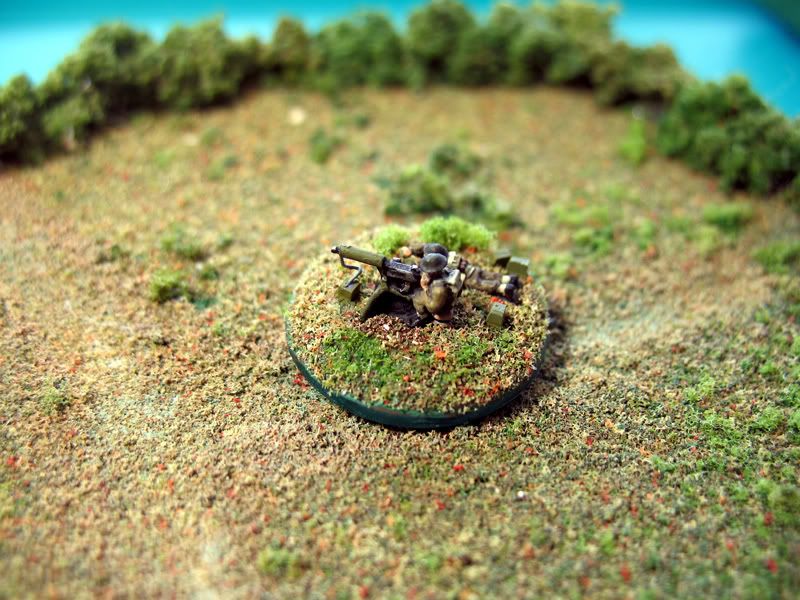
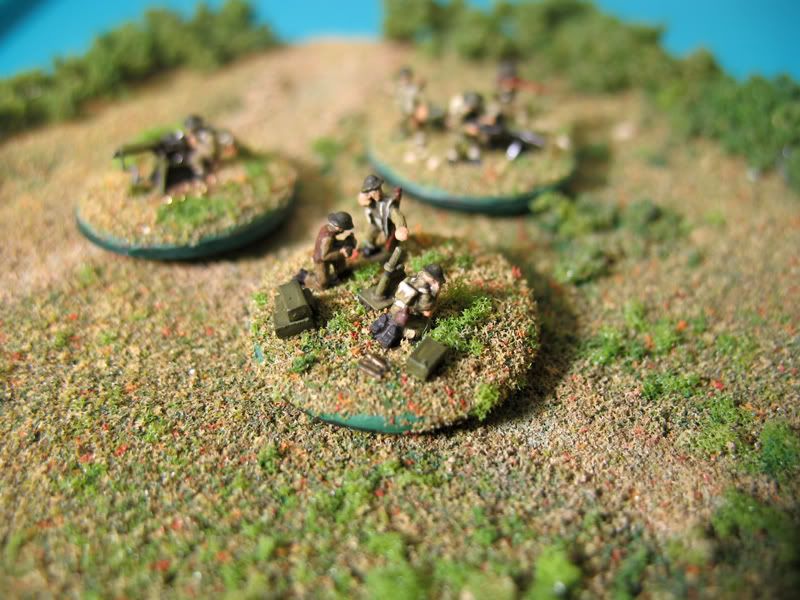
3" Mortar and Crew created with the great mold of the morter from the UK 8th Army H/W blister.
There is a molded-on crewman that needs a wardrobe change by adding some pants with a bit of bondo. The loader is the grenade thrower; arms bent to his ear. The 3rd crewman is the NVA crewman with his slouch hat formed into a British helmet and a Leather Jerkin carved from his jacket.
Ammo crates added from plastic stock and 3-round case made from brass rod.
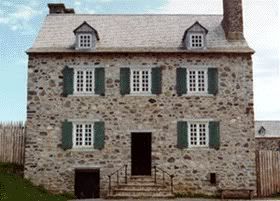
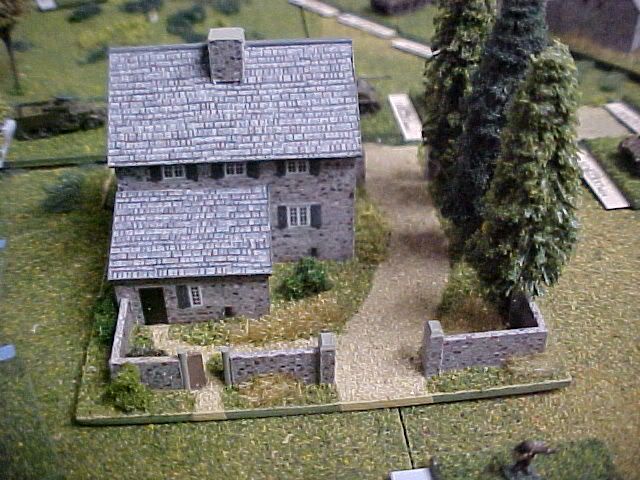
Thought I would share some of my work so you guys could have a hand at scratch building your own building and adding it to your collection.
First a photo of the real thing..
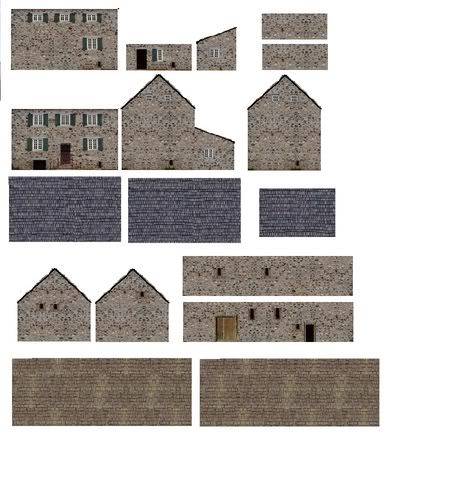
Then the "wallpaper" to make your own house
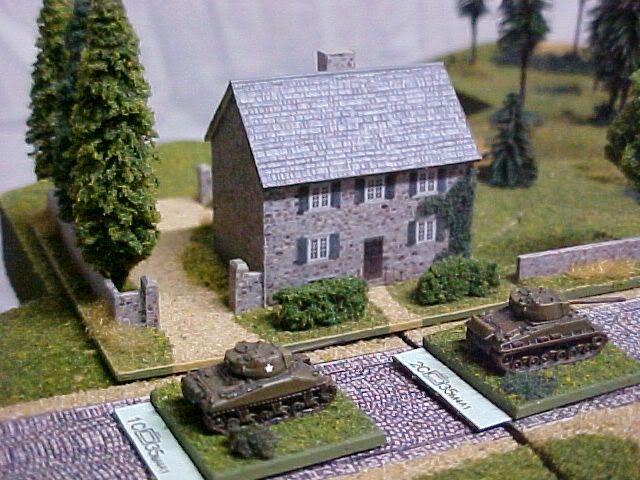
Then pics of the completed model front and rear.
Here's what you need to do. Get 1mm thick styrene for the walls and .75mm thick for the roof. I use Testor's liquid cement to adhere the paper to the styrene. Open the "wallpaper" in Microsoft Paint and set up the page to print it out on one page 8.5" x 11". Cut the two ends out. Cement to the styrene by laying the paper on the styrene then brushing on the liquid cement. The cement will soak thru the paper and will adhere it to the styrene. Cut out the ends with a modeling knife and straight edge. Cut the front and back out of styrene taking into account the thickness of the ends of the house. Cement the front and back to the ends(inside the ends). Then cut out and cement the front and back wallpapers covering the seams where the front and back meets the ends. Do the same for the roof and cement to the house and add a piece of 1mm rod to the ridge. Paint the exposed edges to match the wallpaper. I added a barn too. You could also print out on heavy card stock if you don't want to use styrene. The house is based on 2mm thick piece of plywood 3" square. The walls are made by wrapping 1mm thick styrene. The chimney is 5mm x 5mm styrene wrapped with paper.
Forgot to mention one important thing about. In order for the house to be at the correct scale, the front of the house should measure 40mm wide by 22mm high. You may have to enlarge or shrink the image in Paint to get it to the correct size.