Page 1 of 1
Basing 1/2400th Aircraft
Posted: Sun Jan 27, 2008 10:45 am
by cbovill
Interested in finding out how those of you who use the 1/2400th scale aircraft use them for war gaming. I just started looking at the issue today and have a supply of small 1/2" x 1/2" metal bases. I figure I can mount three single engine fighters or torpedo bombers on each by securing them above the base with a short height of metal wire. Then use a 1/2" x 1/8" (maybe 1/4") or so label on the back of the base with national ID symbol and type of aircraft listed. For recce I was thinking of one plane per base as they typically flew solo. For the larger bombers I'm not sure yet and I don't own any right now to play around with.
Would love to hear what the rest of you have been or plan on doing with these?
Thanks,
Chris
Re: Basing 1/2400th Aircraft
Posted: Sun Jan 27, 2008 10:52 am
by jb
cbovill wrote:Interested in finding out how those of you who use the 1/2400th scale aircraft use them for war gaming. I just started looking at the issue today and have a supply of small 1/2" x 1/2" metal bases. I figure I can mount three single engine fighters or torpedo bombers on each by securing them above the base with a short height of metal wire. Then use a 1/2" x 1/8" (maybe 1/4") or so label on the back of the base with national ID symbol and type of aircraft listed. For recce I was thinking of one plane per base as they typically flew solo. For the larger bombers I'm not sure yet and I don't own any right now to play around with.
Would love to hear what the rest of you have been or plan on doing with these?
Thanks,
Chris
Chris,
follow this link. This guy has some good ideas about using clear plastic for basing. I've done some with my 1/700 scale aircraft. They turned out great
...OOPs the link was direct to a GHQ competetor. If you pm me I'll send it to you.
Sorry

Posted: Mon Jan 28, 2008 10:19 am
by fullmetaljacket
Chris
Thought of a idea to try basing all 1/2400 scale airplanes. I bought a couple of wire paint scrapers from a local hardware store average price is $5.00. Now if you take some wire cutters you know have thousands of very sturdy straight thin posts for basing of aircraft. Just either drill a small whole in the bottom of the plane or you most likely could get away with using just glue(super) to fasten the wire to the model. As for basing itself i was thinking of using flat metal 1" by 1" stands and that way you could do either one plane or several on one stand. Just a thought i was going to try some time in the future. The reason i bought the wire brush is I use the wire for aerial antennas for my 1/72 scale projects. Hope this helps some what.
fullmetaljacket
Posted: Mon Jan 28, 2008 5:08 pm
by jb
fullmetaljacket wrote:Chris
...you know have thousands of very sturdy straight thin posts for basing of aircraft...Just a thought i was going to try some time in the future. The reason i bought the wire brush is I use the wire for aerial antennas for my 1/72 scale projects. Hope this helps some what.
fullmetaljacket
I used to do that years ago, until everybody started to stab themselves when reaching over to move units... OUch!
Posted: Mon Jan 28, 2008 6:44 pm
by voltigeur
I have an air group that a friend of mine did. He went to a craft store like Michael's or Hobby Lobby and bought some clear tube beads. They come in 3 lengths he took the tallest and used them for his fighters mounting 4 to a stand. He then took the middle size and mounted his dive bombers 3 to a triangular stand. Lastly he took the short ones and mounted the torpedo bombers 3 to a triangular stand.
With the extra planes he mounted singles and pairs so that as you took casualties you could "count them down without having to keep notes.
He reproduced the Lexiington 1941 air group looks awsome heading out to target.
Posted: Tue Jan 29, 2008 2:55 am
by cbovill
Voltigeur,
Do you have any pictures of what you describe? I'm having trouble trying to imagine what this all looks like.
Thanks,
Chris
Posted: Tue Jan 29, 2008 11:54 pm
by voltigeur
I'll take some photos this weekend and try to figure out how to get them posted on here.
I have been wanting to put up some photos for some time now.
Posted: Wed Jan 30, 2008 7:11 am
by jb
Posted: Sat Feb 02, 2008 12:57 am
by ateal
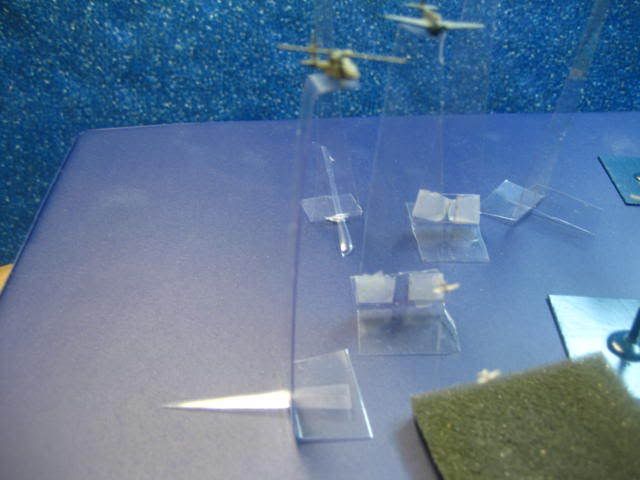
I've used clear plastic bases with clear plastic rod. I bought the supplies online at US Plastic Corp website.
Radar picket destroyers attacked by kamikazes at Okinawa:


Tony
Posted: Sat Feb 02, 2008 5:00 am
by cbovill
Wow! Definitely some creative solutions here. I like the ability to adjust height that JB is demonstrating and the clear plastic approach really allows one to concentrate on the aircraft themselves. Right now I'm experimenting with making smaller versions of my ship bases to see what that will look like.
Thank you for all the ideas - keep 'em coming!
Chris
Posted: Mon Feb 04, 2008 1:39 am
by voltigeur
Unfortunatly the planes didn;t survive my last move. So no pics this time.
Posted: Wed Feb 06, 2008 6:33 am
by John Drye
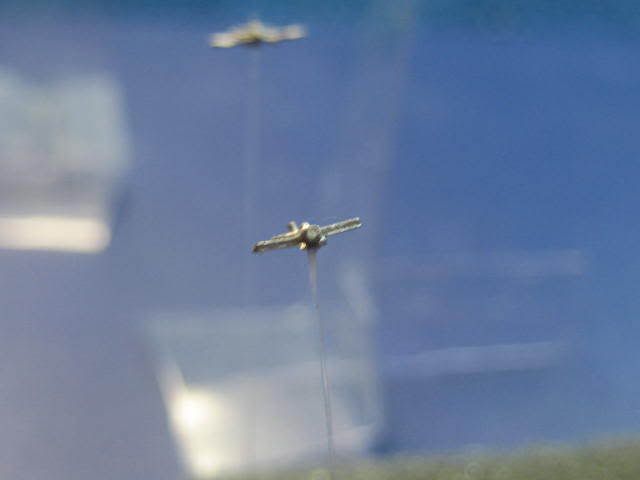
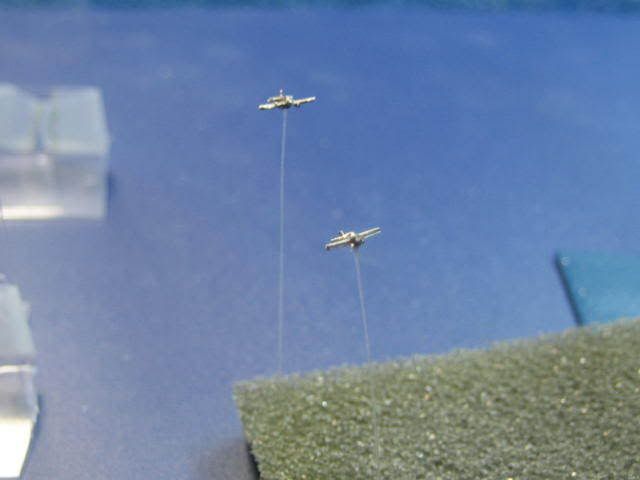
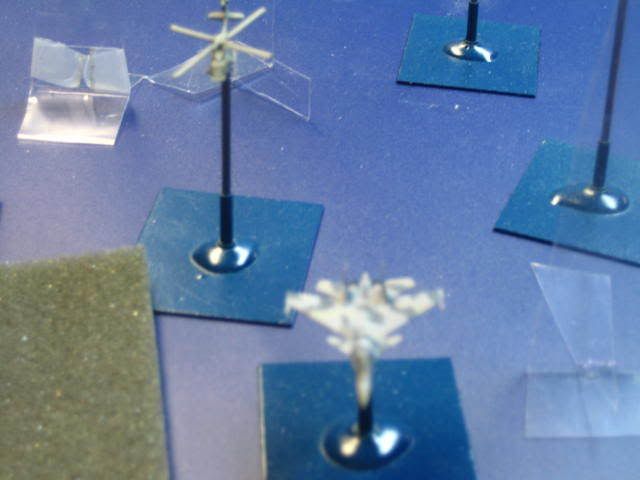
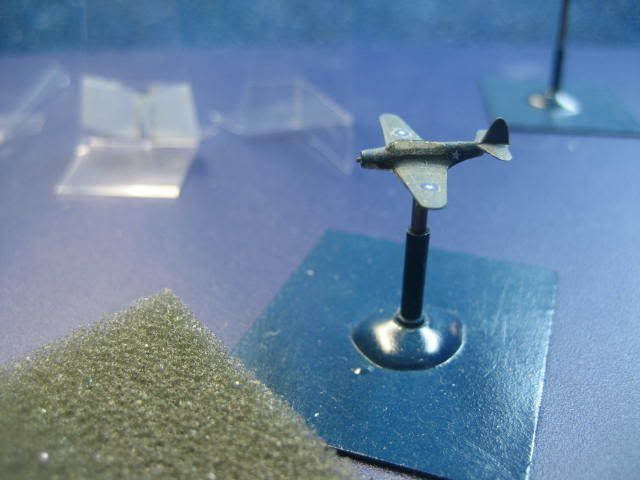
Here is a step by step description of how we based the 1/2400 a/c used to playtest “Micronauts: The Game- WWIIâ€.
Start with a sheet of thin styrene sheet (about .030â€). Scribe a 1†or ¾†grid on the sheet with a sharp X-acto knife. Test one of the scribe lines to make sure it is deep enough to allow the sheet to easily snap when bent.
Use a pin vise or a Dremel tool (on low speed, but still much faster) to drill one or two holes in each square on the grid pattern. One centered hole for medium bombers and larger; two closely spaced for single-engine aircraft. Test fit the aircraft to the first pair of holes drilled to make sure two aircraft will fit. Lightly penciling diagonal lines on the grid can help to exactly locate the center of each base.
Don't snap the styrene into individual bases just yet. It is much easier to install the wire first.
Fit thin brass wire (.010†or .020â€) into the holes in the styrene (match the drill bit to the size of the wire) and secure with Crazy Glue. The thick, tube glue works well. It is easy to start with a long length of wire and insert into a hole, Iwo Jima style. Hold the wire firmly (a pair of needle nose can help) and cut back to a length of about ¼ to ½ " with a pair of wire cutters. Set aside for the glue to dry
Now is a good time to work on the aircraft (or the carrier). See below.
After the glue dries, snap the styrene into individual bases. If the scribing is deep enough, a little coaxing with a pair of needle nose pliers will quickly transform the “wire forest†into an air wing’s worth of bases. Best to test one first, to make sure the scribing is deep enough to allow the styrene to snap easily. (I’m sure everyone can guess exactly how I learned this part).
Spray paint the individual bases “ocean colorâ€. Most any shade of medium blue will work. When the blue dries, stippling some “waves†onto the base helps improve the appearance.
That finishes off the bases.
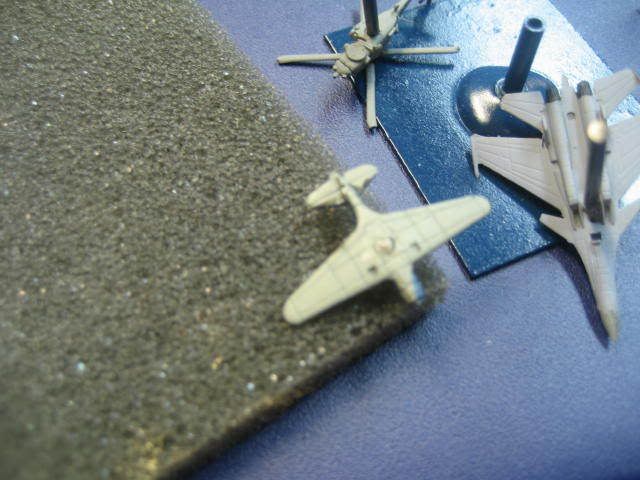
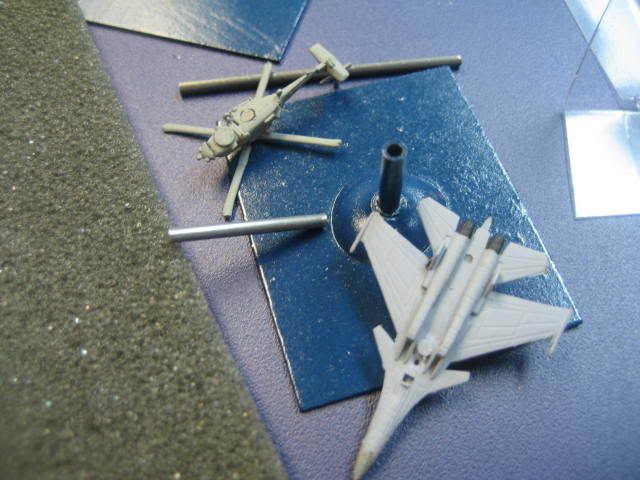
While waiting for the paint and / or glue to dry on the bases, you can paint the aircraft “airplane color†(blue, grey, green, silver, etc). A little silver or light blue can highlight the canopy and a black engine cowling and anti-glare panel in front of the cockpit adds some detail. A crazy painter like Jim Moffet will also paint tail markings, anti-icing boots on the leading edge of the wings and national markings in all six locations, as appropriate. Have as much fun as you like.
After painting, perform the first half of a barrel roll and place the squadron upside down on some foam. Use a push-pin to poke a hole in the underside of each aircraft right at the center of gravity of the model (usually at the center of the bomb bay or where the centerline fuel tank or center bomb or torpedo attaches). The hole should be big enough to fit just a bit of the wire.
Take the Crazy Glue (use the thickest version, from the small tube) and place a small blob on top of the base wires with a toothpick. Grab an aircraft by the wing with a small pair of tweezers and carefully balance on top of the wire and glue. The glue’s tackiness and the hole in the bottom of the airplane (and some patience—holding your breath helps) will allow the airplane to stay put long enough for the glue to dry. Do a few bases at a time and repeat for the entire Air Wing.
That’s it! Now go “Scratch one flattopâ€. Good luck!
John Drye