64mas wrote:Yeah, this is my first try at 6mm.
OK. That gives us guidance on what we might suggest.
HK is right about getting some small extra-fine tipped brushes. Other keys to success that I have found:
- Get a magnifier. I use a desk lamp + magnifier on an articulated arm. Others use magnifying headsets or even reading glasses.
- Mount the figs for painting. I mount mine on popsicle sticks and/or coffee house stirring sticks. About 10 figs per stick. Makes 'em easy to handle, and I can paint the same thing on a batch (one stick worth) before going on to painting the next thing. But other folks mount them on nail heads, and then stick the nails in a wood or styrofoam base. (I do this for vehicles, but not for infantry.)
The advice to do one or two first is very sound. It is not only good for developing / testing your painting scheme, but also for inspiring you. Seeing one finished soldier gets me much more fired-up than seeing a stick of 10 soldiers with only a base-coat and painted weapons.
I I think the big problem is I was just getting used to 28mm when I decided to try 6, and I'm still trying to do all the details.
Hmmm.
I might suggest that you don't go for "all the details" on your first batch.
Or go ahead. Your call.
But it is rather remarkable how good you can make these little guys look with just some modest detailing. As HK suggested, at game-table distances your eye will start to respond to the "suggestion" in your painting as much as to what is actually painted. You'll loose the ability to see much of that detail that you might have spent much time on, while at the same time you'll imagine you see detail that you might not have painted at all.
My priorities for detailing are:
1) Paint the figures a different color than the base/ground they stand on.
("Well DUH" I hear you say. But no, really, if you do nothing but this, your figures will still look like painted infantry rather than little green blobs.)
2) Paint faces and hands. Makes all the difference in the world.
3) Paint weapons AND HEADGEAR. If you paint nothing but faces, hands, weapons and headgear, your figures will look good. Really. I promise. I have found painting the headgear (AFTER you have painted the face) to be particularly important in making the figs look nice. Really gives definition to the face itself, making it look like a face, rather than look like a fleshtone blob.
4) Do some washing and/or dry-brushing. Best done before you paint the faces, hands, weapons and headgear. Placed at 4 only due to priority, not to sequence of painting. Any dark wash will bring out lots of detail. And the dry-brushing will make the web gear and any packs/canteens, etc. pop out. Even if you don't detail them, they'll become visible.
5) Paint the boots.
6) Paint the web gear, packs, canteens, etc. Don't worry about getting them perfect. Better to under-paint than over-paint on the detailing. If the sides of the canteen are not painted all the way down to the tunic, no one will see. What they might see is that something on the belt (the canteen) is a different color than the tunic.
7) Paint the tunics a different color than the pants. Makes nice looking figs. But you should have some historical justification for this.
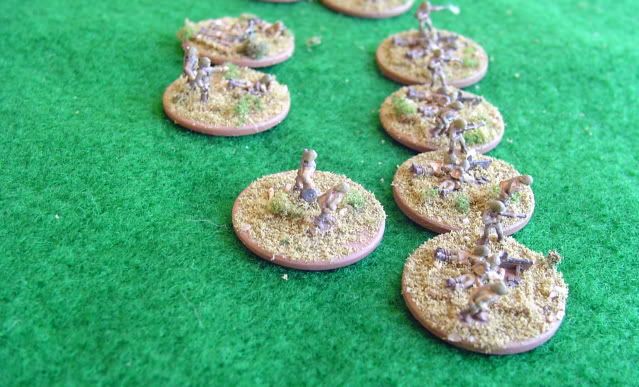
Here is an example of my Italians (in Continental uniforms):

This was the first infantry force I painted after joining this forum. My detailing consisted of faces, hands, headgear, boots and weapons. Even the weapons were scarcely detailed -- I painted black only (no wood tones). Only later did I go back and do a few web straps (often rifle straps on my "NCO" figures). Even painting the webbing on one out of five figures has the odd result of making folks imagine that they all have the webbing painted.

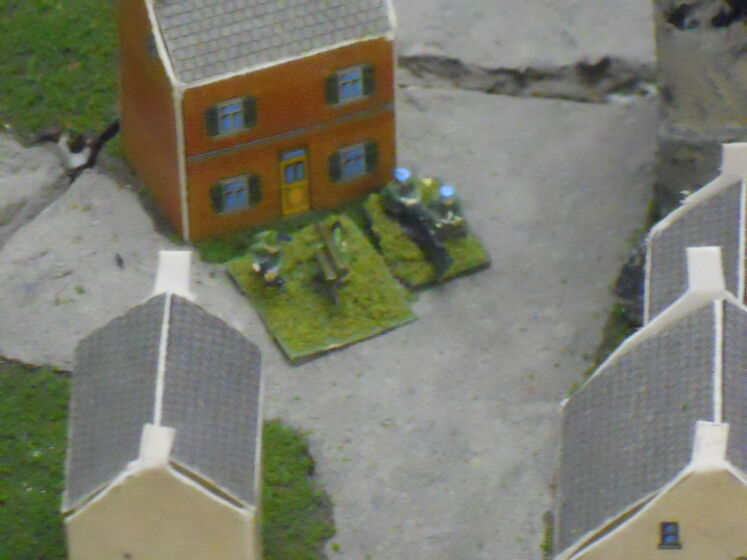
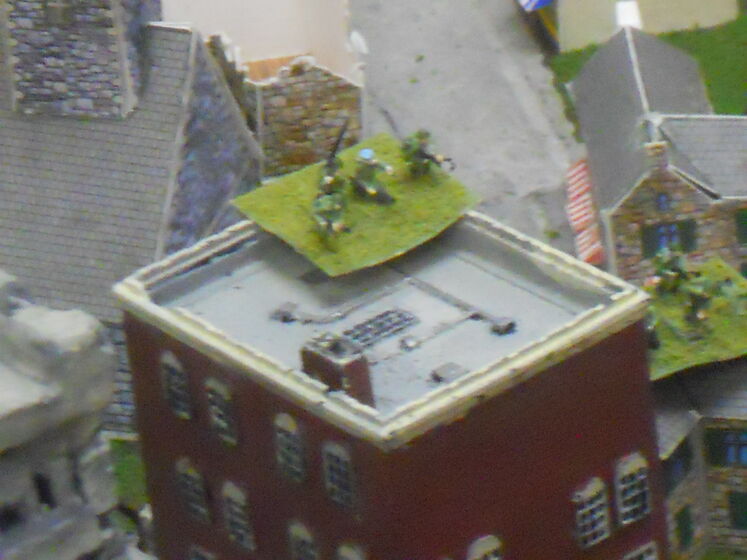
Here are some of my Soviets on the gaming table. These boys were painted in the first half of the 1990s. My painting skills were far more rudimentary then. This was the first infantry on which I painted hands and faces, and weapons. Again all the weapons were simply painted black.
A couple years back I did an upgrade. I painted the headgear (WOW did that make them look better!), washed and dry-brushed them, and flocked their bases.
They won't win any beauty contests among micro-armor enthusiasts, but I have gotten many compliments at game cons for them -- mostly from passers-by who are at some distance and never inspect them up-close.
Hope that helps.