Love the Admiral Hipper class cruisers! They look great!
The LCS-2 is an interesting looking vessel for sure. I think I’ve seen that one in San Diego once on Holiday.
Who doesn’t like an Arleigh Burke ship? Is that the USS Mustin (DDG-89) boat?
Well done!
Pete's Place
Moderators: dnichols, GHQ, Mk 1
-
PolishGI
- E5
- Posts: 745
- Joined: Wed Jun 19, 2013 2:57 am
- Location: SW USA
 Charlie don't surf!
-
pmskaar
- E5
- Posts: 1912
- Joined: Sun Apr 17, 2005 5:45 am
Re: Pete's Place
Thank you very much, Polish GI! I did paint the USS Mustin for the Arleigh Burke II class. It is Hull Number 89 which does correspond to that particular ship.
-
pmskaar
- E5
- Posts: 1912
- Joined: Sun Apr 17, 2005 5:45 am
Re: Pete's Place
I recently finished basing some vehicles for use with the Fistful of TOWs 3 rules set. I am getting ready to run a simple solo game soon using these rules. I am working on both Cold War era and Arab-Israeli Wars forces. I have decided to start with Arab-Israeli since I am further along in having the armies and terrain ready.
One thing I do not have, terrain wise, is paved roads for my desert. I have decided to rectify this. Here are some pictures of actual roads in Libya and the Sinai that I used as a reference.


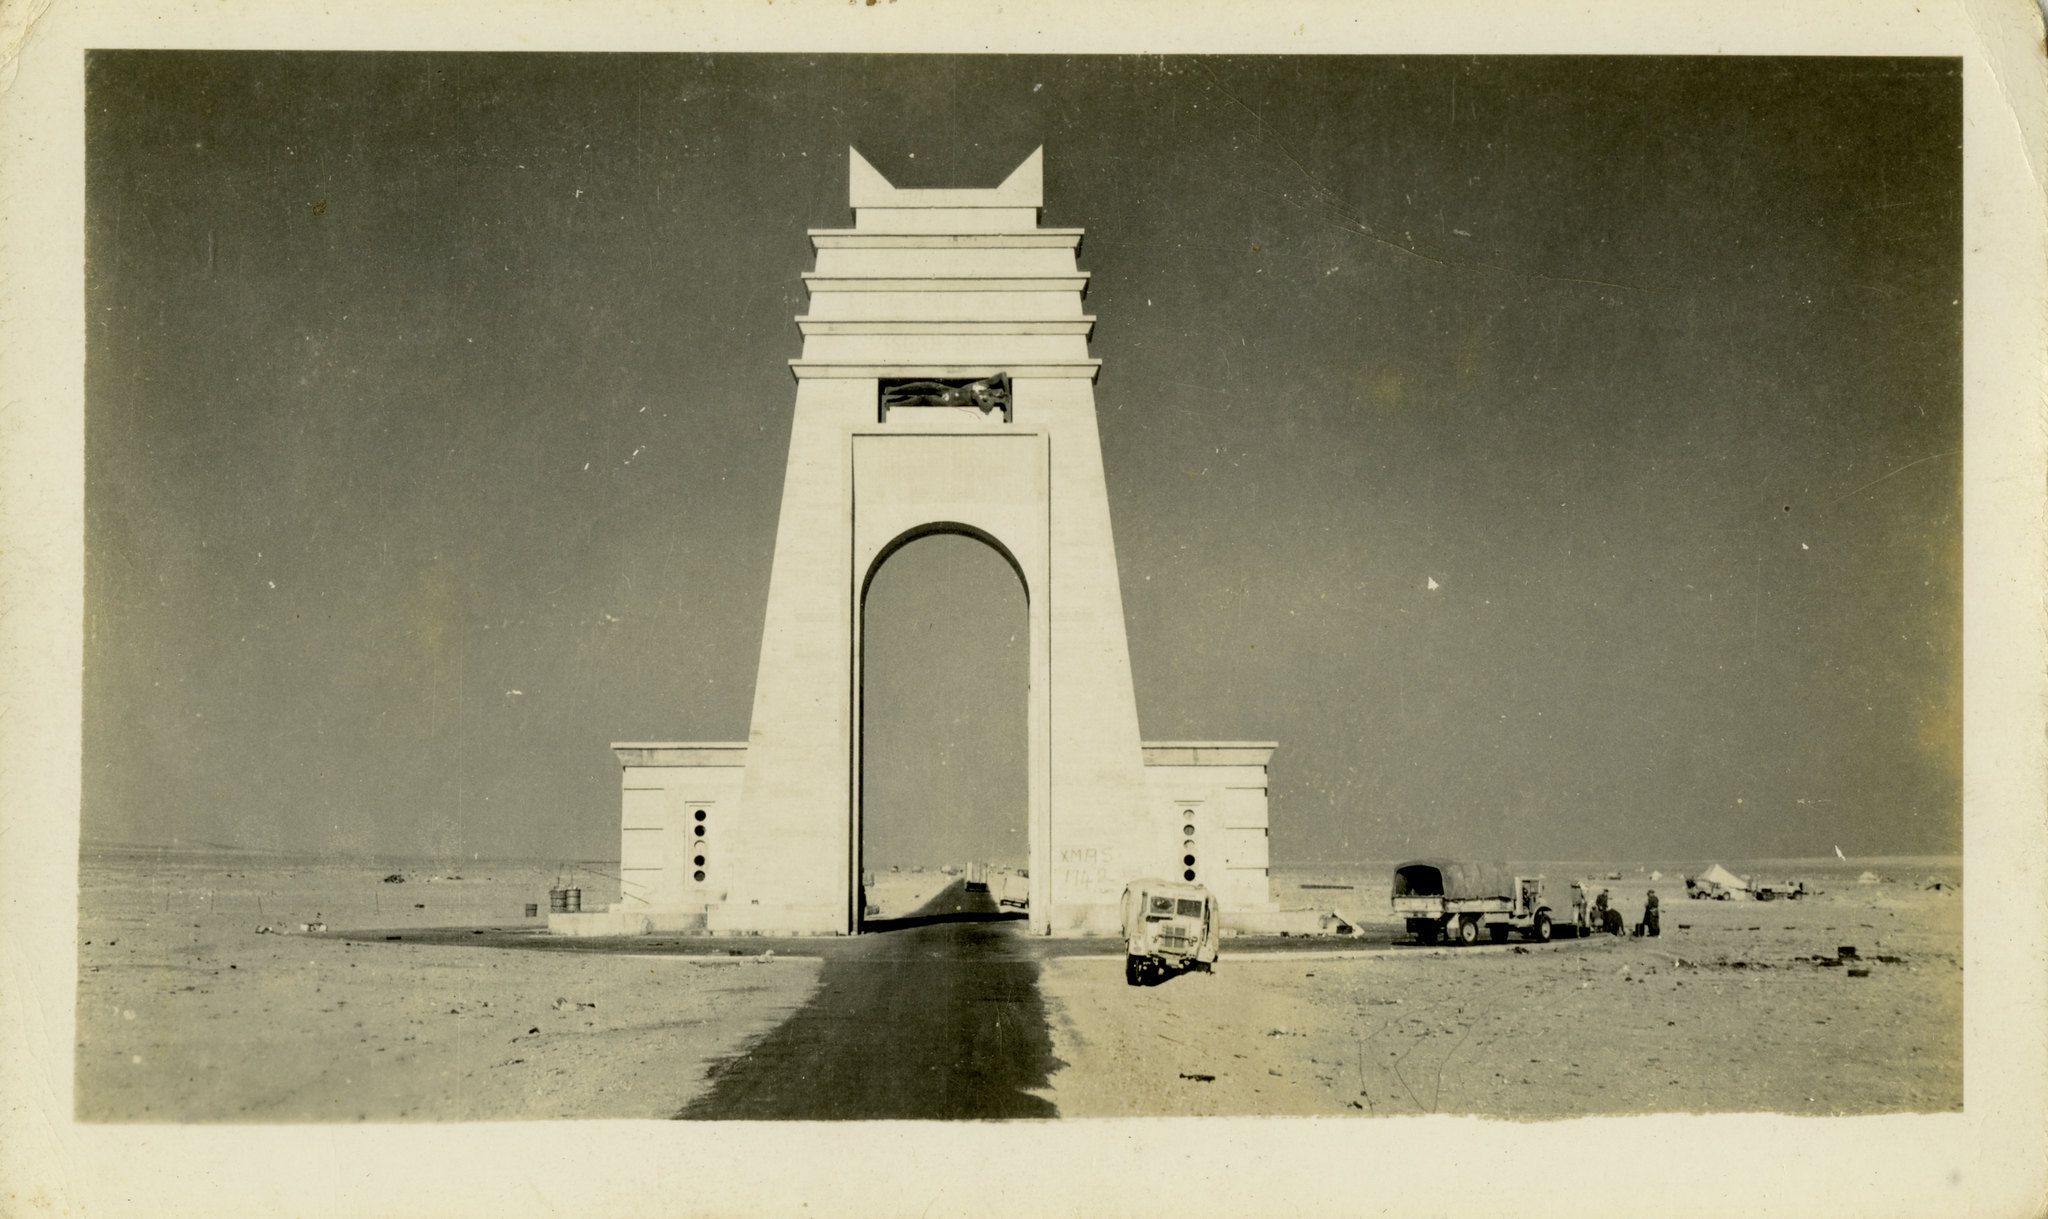


One thing I do not have, terrain wise, is paved roads for my desert. I have decided to rectify this. Here are some pictures of actual roads in Libya and the Sinai that I used as a reference.
-
redleg
- E5
- Posts: 3423
- Joined: Fri Dec 17, 2004 11:02 am
- Location: Riverside, CA
Re: Pete's Place
Great photos! Very basic looking roads without a lot of paint on them. It's not professional quality, but for quick games I often use black masking tape for paved roads. It's easy to put down and pick up.
Redleg's Website: micropope.webstarts.com
-
pmskaar
- E5
- Posts: 1912
- Joined: Sun Apr 17, 2005 5:45 am
Re: Pete's Place
Thank you, Redleg! I got into the Terrain Maker system just over 30 years ago and currently have a Europe Summer set, a Europe Winter set, and a Middle East-North Africa Desert set. I built my basic sets in the 1990s and into the 2000s but still occasionally add some pieces that I feel are needed. This week I am working to get paved roads for my desert terrain to represent those paved roads in the Sinai-Egypt for my Arab-Israeli War games and that can also be used for the Coast Road in Egypt-Libya-Tunisia for my WWII North Africa games.
I have plans to add some more paved roads, streams and rivers, and some bridges for my Western European terrain at some point and maybe some additional pieces for Eastern Europe-Russia as well. It seems nothing is ever totally done.
I have plans to add some more paved roads, streams and rivers, and some bridges for my Western European terrain at some point and maybe some additional pieces for Eastern Europe-Russia as well. It seems nothing is ever totally done.
-
pmskaar
- E5
- Posts: 1912
- Joined: Sun Apr 17, 2005 5:45 am
Re: Pete's Place
Here are some of my paved roads for my desert terrain in progress.
I used 600 Grit Wet and Dry Sandpaper glued to .020 Thickness Plastic Card as the base. I carefully measured each piece and glued the road to the hex with Woodland Scenics Scenic Cement. These pictures were taken the other day. I have add more road pieces and have muted the stark black to make it more of a dark gray using craft paint. I also need to do the terrain texturing on either side of the road so that it will look more like the dirt road in the last picture.


I used 600 Grit Wet and Dry Sandpaper glued to .020 Thickness Plastic Card as the base. I carefully measured each piece and glued the road to the hex with Woodland Scenics Scenic Cement. These pictures were taken the other day. I have add more road pieces and have muted the stark black to make it more of a dark gray using craft paint. I also need to do the terrain texturing on either side of the road so that it will look more like the dirt road in the last picture.
-
Beagle
- E5
- Posts: 693
- Joined: Wed Mar 17, 2021 2:45 am
Re: Pete's Place
Nicely done Pete. That’s similar to how I make roads, minus the sand paper. I don’t use hexes for my gaming, so I cut .020 styrene in lengths from 12” to 2” long, in inch wide, varying curves, paint them accordingly, and texture with either ground foam, fine ballast, or whatever is appropriate. I just make new pieces as the need arises, the lay end to end like a slot car track.
-
redleg
- E5
- Posts: 3423
- Joined: Fri Dec 17, 2004 11:02 am
- Location: Riverside, CA
-
pmskaar
- E5
- Posts: 1912
- Joined: Sun Apr 17, 2005 5:45 am
Re: Pete's Place
Thanks very much to both of you, Bill and Redleg.
This road building is a bit of an experiment for me but so far I am happy with the results. I used 600 fine grit sandpaper which is pretty fine. I glued this to the .020 sheet styrene with 3M spray adhesive. In the future, I may delete the styrene and glue the sandpaper directly to the hex. I will try this with my Western European Roads to see how it works. I think the paper backing on the sandpaper is thick enough to allow me to glue directly to the hex.
I used a couple of dark gray craft paints to mute the color from stark black to more of a dark gray asphalt. There is lots of latitude in coloration.
I have spent a lot of time and effort on my hex terrain over the last 30 years. I know it may not be for everyone but overall I am very happy with the way it looks. I am always ready to learn new tricks and maybe occasionally invent a few of my own. It is always great to see what others are doing.
-
pmskaar
- E5
- Posts: 1912
- Joined: Sun Apr 17, 2005 5:45 am
Re: Pete's Place
I have flocked all 22 road sections that I have built so far. I have added a thin layer of Ligonier Tan paint to the flock on 8 of them. It will take 2 to 3 more coats to get the hexes to look very close to the dirt road hexes in the picture. I am pretty happy so far.


I will need to dust off the excess flock from the hexes when I am done.
I will need to dust off the excess flock from the hexes when I am done.
-
chrisswim
- E5
- Posts: 6604
- Joined: Wed Dec 15, 2004 11:22 pm
- Location: Jacksonville, FL
Re: Pete's Place
Great roads Pete. Look great with your tanks.
I gotta bomb them or shoot ‘em up.
I gotta bomb them or shoot ‘em up.
Chris
-
pmskaar
- E5
- Posts: 1912
- Joined: Sun Apr 17, 2005 5:45 am
Re: Pete's Place
Thanks very much, Chris! Of course I would totally expect you to bomb them and blow them up. LOL!
-
pmskaar
- E5
- Posts: 1912
- Joined: Sun Apr 17, 2005 5:45 am
Re: Pete's Place
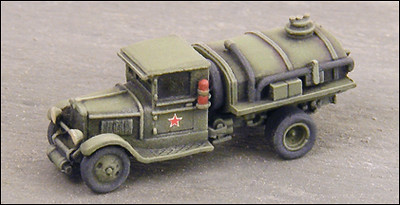
Here are a couple pictures of some Russian WWII vehicles I painted a few years ago. The first is a Zis-5 Fuel Truck and the second is an M4A2 Sherman in Russian markings.

-
PolishGI
- E5
- Posts: 745
- Joined: Wed Jun 19, 2013 2:57 am
- Location: SW USA
Re: Pete's Place
Hi Pete,
The roads look great! I imagine a bit of work went into those with measurements, cuts and tacking down to the hex. Very nice.
The fuel truck and M4A2 looks sharp!
The roads look great! I imagine a bit of work went into those with measurements, cuts and tacking down to the hex. Very nice.
The fuel truck and M4A2 looks sharp!
-
pmskaar
- E5
- Posts: 1912
- Joined: Sun Apr 17, 2005 5:45 am
Re: Pete's Place
Thanks very much, Polish GI!. I did do some measuring to get these to line up properly.