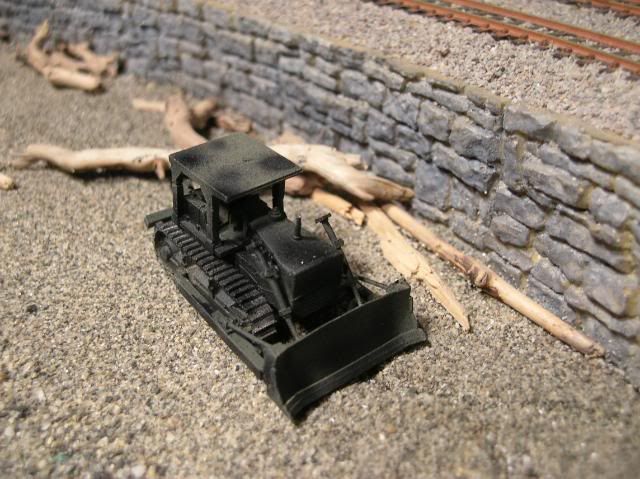
So how about a big 'HELL YEAH' for all the folks at GHQ !!!! Not only to they make the most detailed white metal kits in N scale they also make the biggest selcetion around, they ALSO SUPPORT there kits after the sale is long over.I want to thank all the folks there for getting the parts to me that I needed to finish the kits so they cna be on there way to there new home (aka) someone's layout.Again thank you all at GHQ.
L
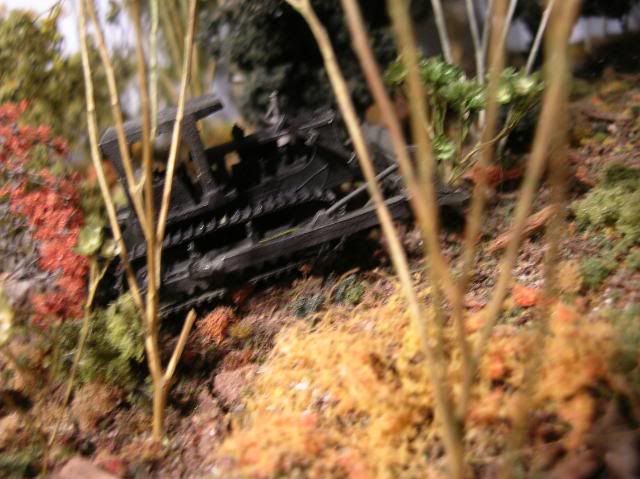
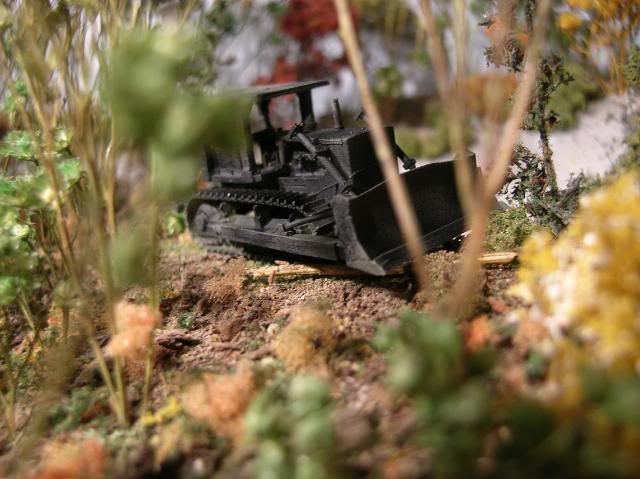
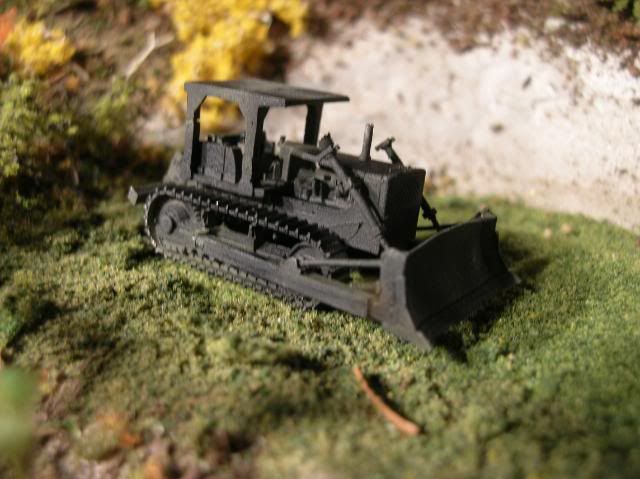
White metal Kits
Moderators: dnichols, GHQ, Mk 1

-
StarCruiser
- E5
- Posts: 397
- Joined: Tue Dec 14, 2004 5:42 am
- Location: Houston, we have a problem...
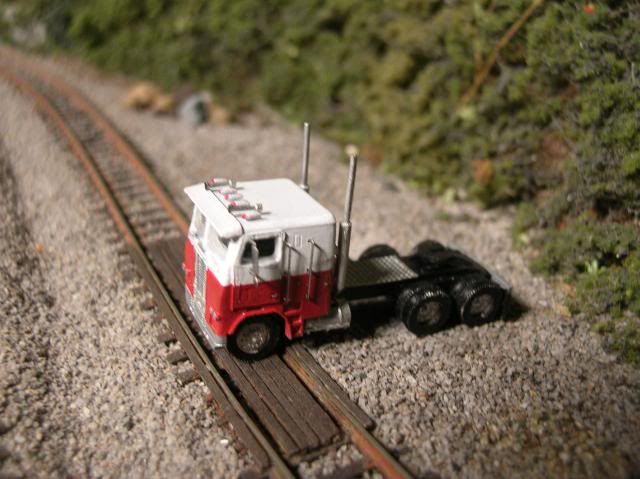
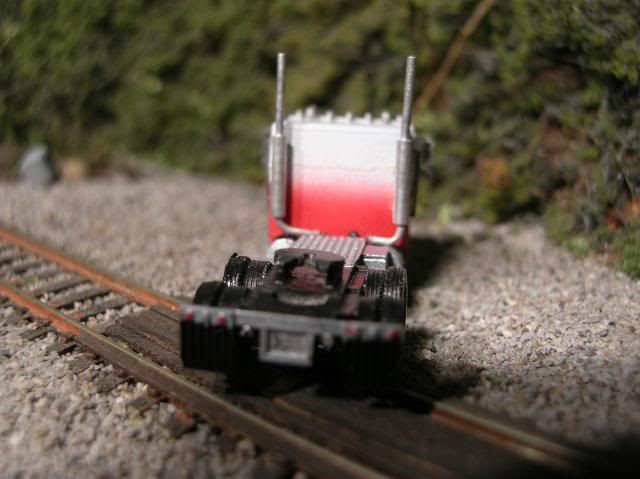
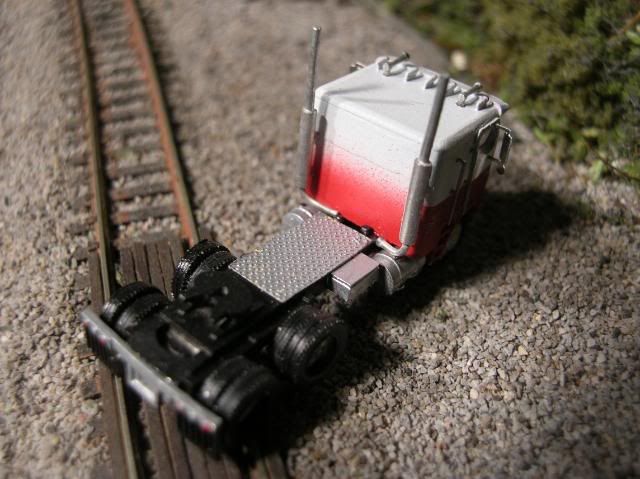
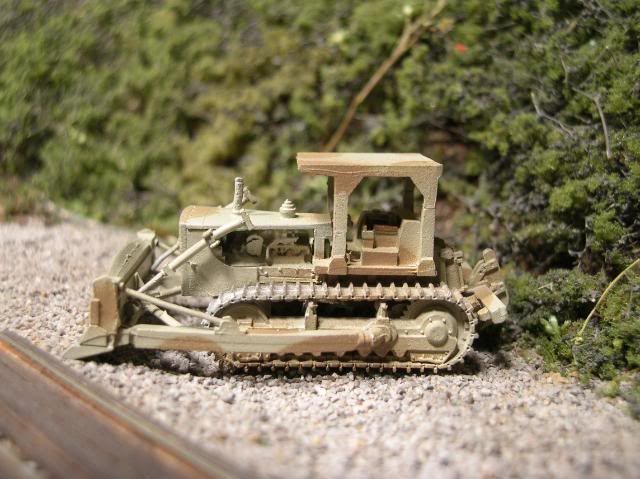
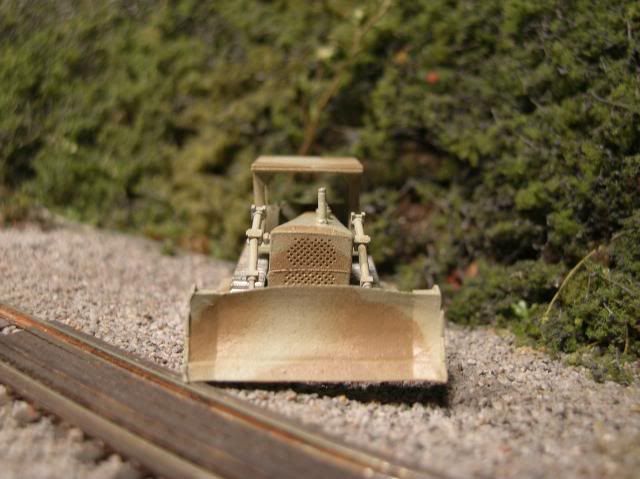
It's extremely hard to fade colors together on such small scale models... Anything you do always looks too rough (unless the painter is EXTREMELY talented).
"It is by caffeine alone I set my mind in motion. It is by the beans of java that the thoughts acquire speed. The hands acquire the shakes, the shakes become a warning. It is by caffeine alone I set my mind in motion." - Programmer's Mantra
-
nmanica
- E5
- Posts: 277
- Joined: Tue May 25, 2010 7:14 pm


-
nmanica
- E5
- Posts: 277
- Joined: Tue May 25, 2010 7:14 pm
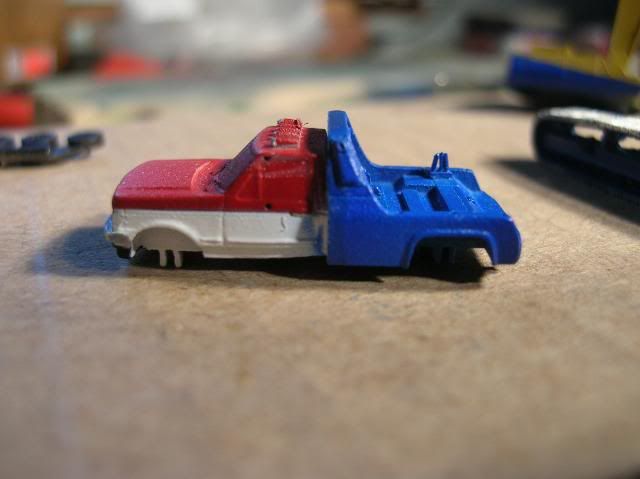
So I'm sitting at the hobby table looking at the hy-rail truck and you know it's not doing a thing for me.
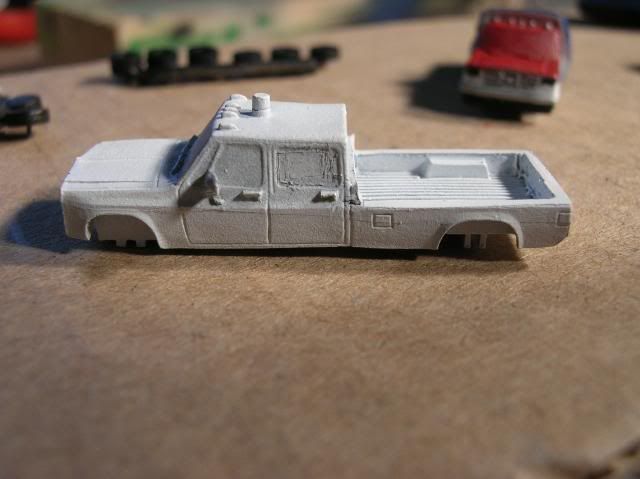
So I look into hte "dead build box" this box holds all the projects/kits once started but somehow got put aside and forgotten,After a bit of lookign and digging I find what I want and it's time for a "Bash"
So I look into hte "dead build box" this box holds all the projects/kits once started but somehow got put aside and forgotten,After a bit of lookign and digging I find what I want and it's time for a "Bash"
I'll save you all the boring bits about picking out hte parts and prepping them,but everything on this truck is from this box.

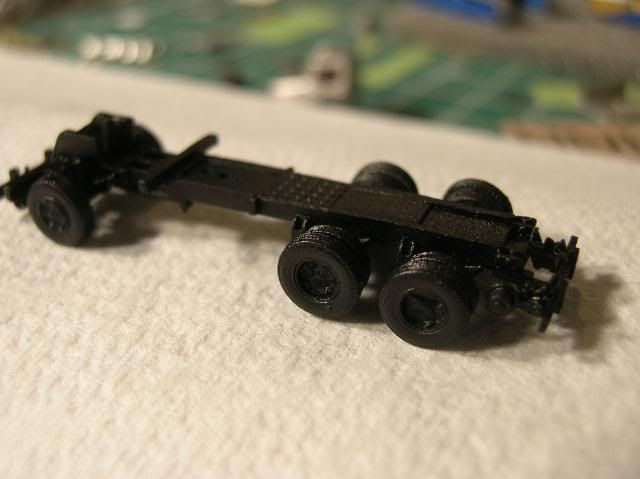
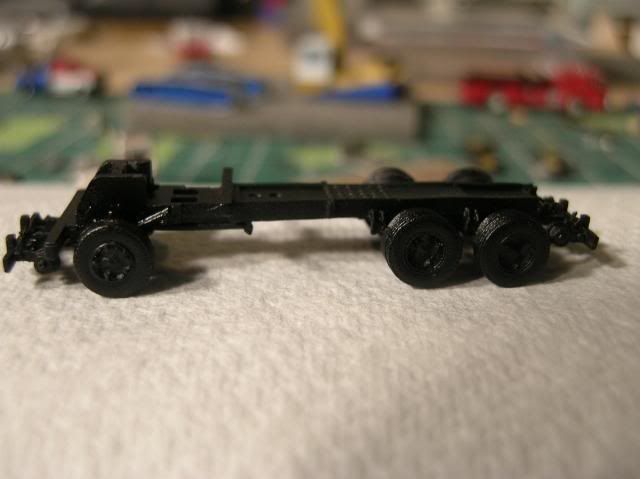
The build centers around the GHQ snowplow and the C&C light duty work truck
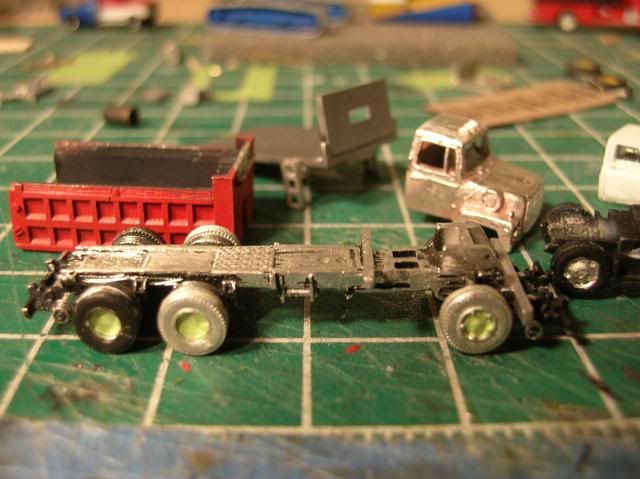
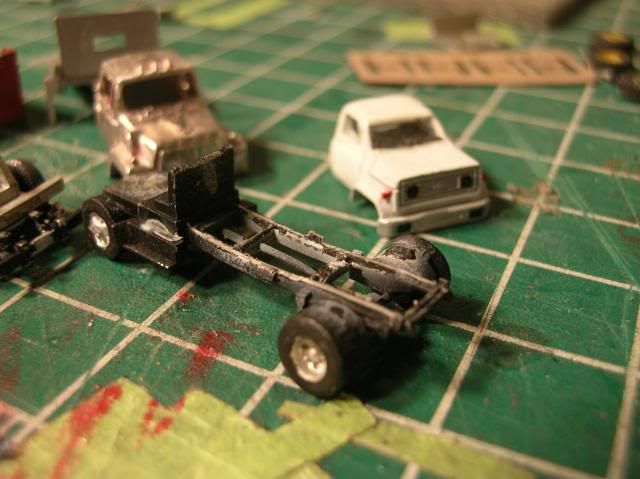
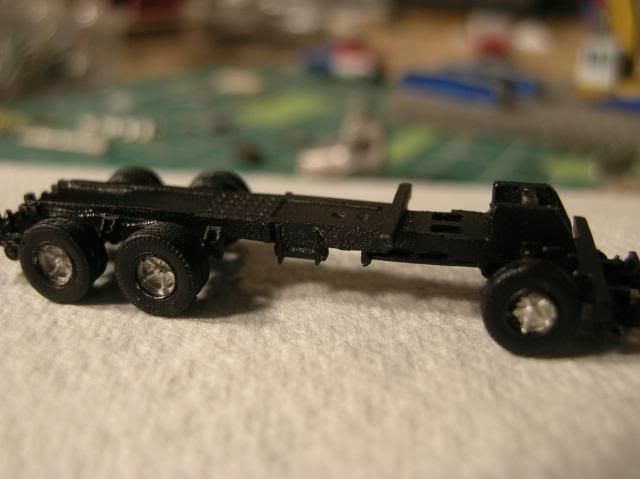
Here are the parts semi-stripped and taken apart

So I look into hte "dead build box" this box holds all the projects/kits once started but somehow got put aside and forgotten,After a bit of lookign and digging I find what I want and it's time for a "Bash"
So I look into hte "dead build box" this box holds all the projects/kits once started but somehow got put aside and forgotten,After a bit of lookign and digging I find what I want and it's time for a "Bash"
I'll save you all the boring bits about picking out hte parts and prepping them,but everything on this truck is from this box.
The build centers around the GHQ snowplow and the C&C light duty work truck
Here are the parts semi-stripped and taken apart
-
nmanica
- E5
- Posts: 277
- Joined: Tue May 25, 2010 7:14 pm
So I'm sitting at the hobby table looking at the hy-rail truck and you know it's not doing a thing for me.
So I look into hte "dead build box" this box holds all the projects/kits once started but somehow got put aside and forgotten,After a bit of lookign and digging I find what I want and it's time for a "Bash"
So I look into hte "dead build box" this box holds all the projects/kits once started but somehow got put aside and forgotten,After a bit of lookign and digging I find what I want and it's time for a "Bash"
I'll save you all the boring bits about picking out hte parts and prepping them,but everything on this truck is from this box.
The build centers around the GHQ snowplow and the C&C light duty work truck
Here are the parts semi-stripped and taken apart
So I look into hte "dead build box" this box holds all the projects/kits once started but somehow got put aside and forgotten,After a bit of lookign and digging I find what I want and it's time for a "Bash"
So I look into hte "dead build box" this box holds all the projects/kits once started but somehow got put aside and forgotten,After a bit of lookign and digging I find what I want and it's time for a "Bash"
I'll save you all the boring bits about picking out hte parts and prepping them,but everything on this truck is from this box.
The build centers around the GHQ snowplow and the C&C light duty work truck
Here are the parts semi-stripped and taken apart
-
nmanica
- E5
- Posts: 277
- Joined: Tue May 25, 2010 7:14 pm
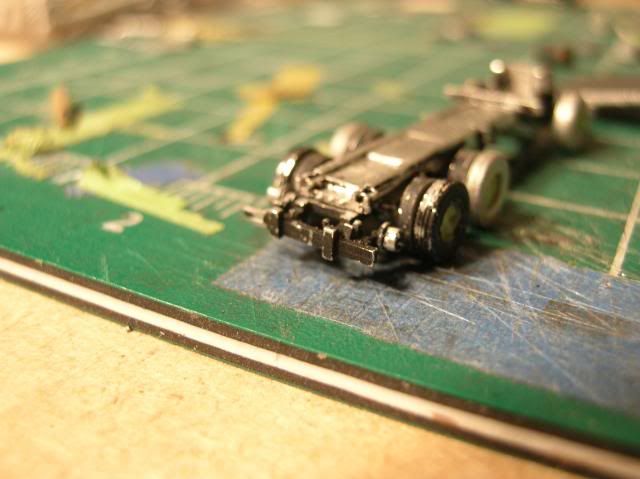
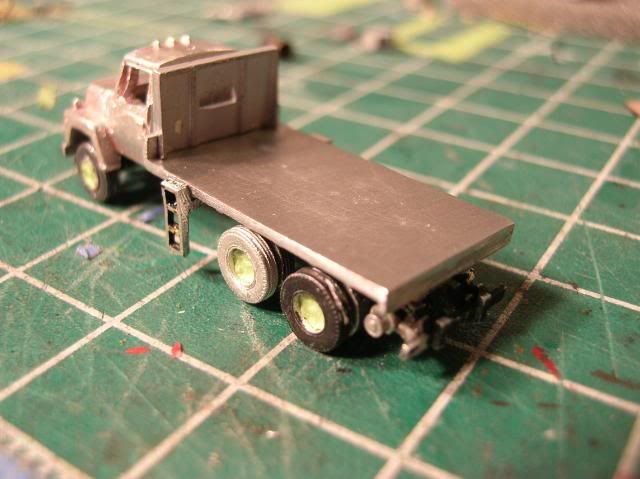
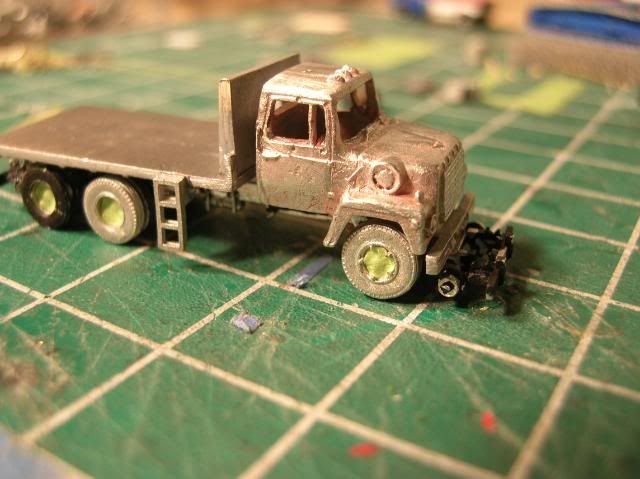
The GHQ frame needed little if any treaking just some light filing here and there I found two new tires and used them plus the old ones that I had removed. I then installed the HY-Rails from the other kit and they dropped right into place !!
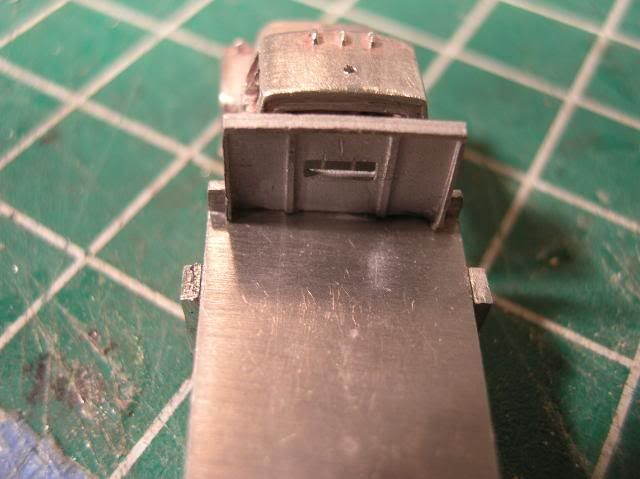
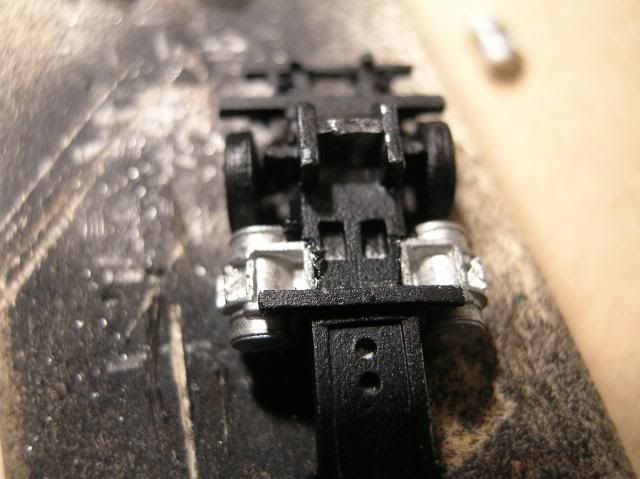
Next came the treaking of the C&C bed to fit the GHQ truck frame, just a bit of filing and then I added the bulkhead back on the deck.It goes ot say that the C&C deck and the GHQ frame weer made for each other !! they both dropped right in !!

Once the deck was sized up I dug thur the parts box and found two ladders used for the GHQ wheeled log loader,they sat high so I shimed them out with some plastic

and now they sit nice and flush !
Next came the treaking of the C&C bed to fit the GHQ truck frame, just a bit of filing and then I added the bulkhead back on the deck.It goes ot say that the C&C deck and the GHQ frame weer made for each other !! they both dropped right in !!
Once the deck was sized up I dug thur the parts box and found two ladders used for the GHQ wheeled log loader,they sat high so I shimed them out with some plastic
and now they sit nice and flush !
-
nmanica
- E5
- Posts: 277
- Joined: Tue May 25, 2010 7:14 pm
-
nmanica
- E5
- Posts: 277
- Joined: Tue May 25, 2010 7:14 pm
Was just "one of them nites"didn't get much done I think I need to retire the old airbrush (36 yeras old) just more trouble then it's worth sometimes.
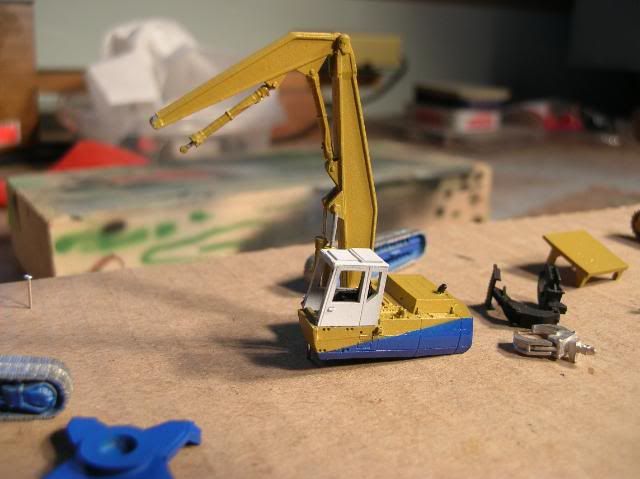
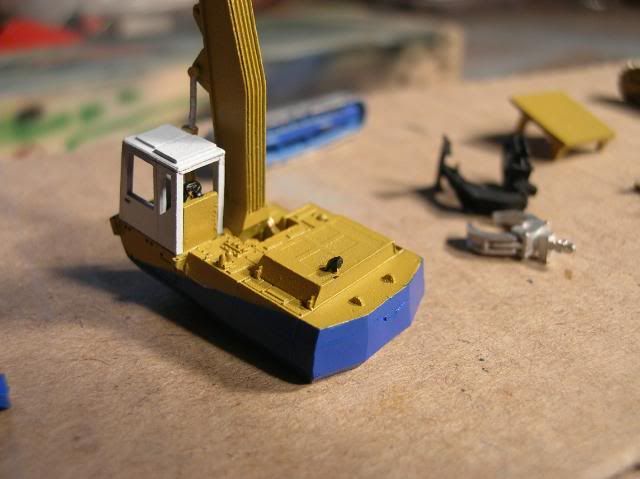
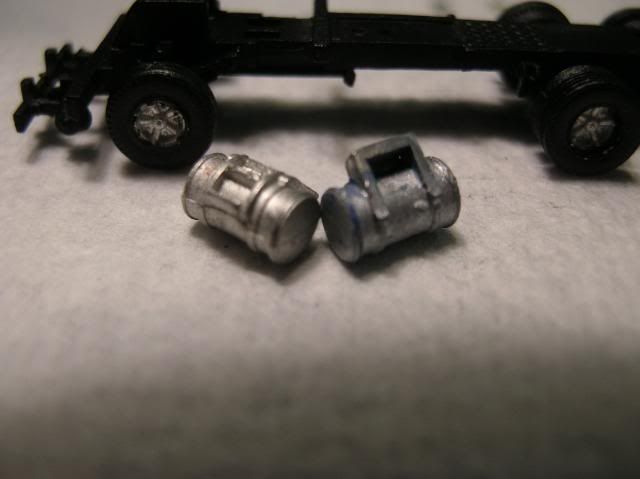
So here are the fuel tanks and hydraulic fluid tank,I installed fuel tanks body won't fit remove fuel tanks try three more times,fit !!
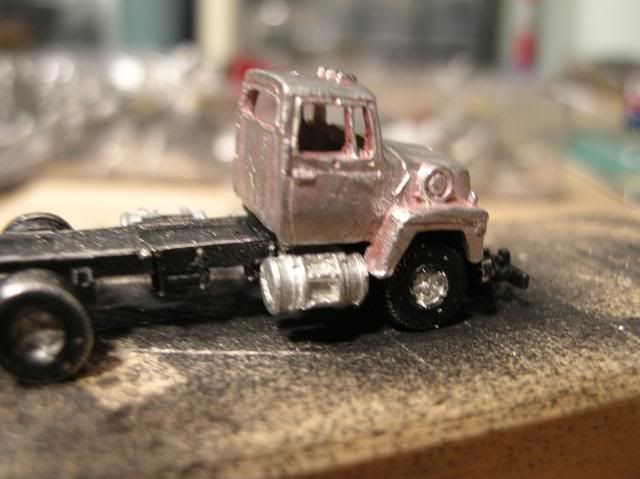
Off to the paint booth,not even going to go there I just wanted DONE !!!
cab came out ok may strip and repaint I'll sit on it for a few days
So here are the fuel tanks and hydraulic fluid tank,I installed fuel tanks body won't fit remove fuel tanks try three more times,fit !!
Off to the paint booth,not even going to go there I just wanted DONE !!!
cab came out ok may strip and repaint I'll sit on it for a few days