WASH
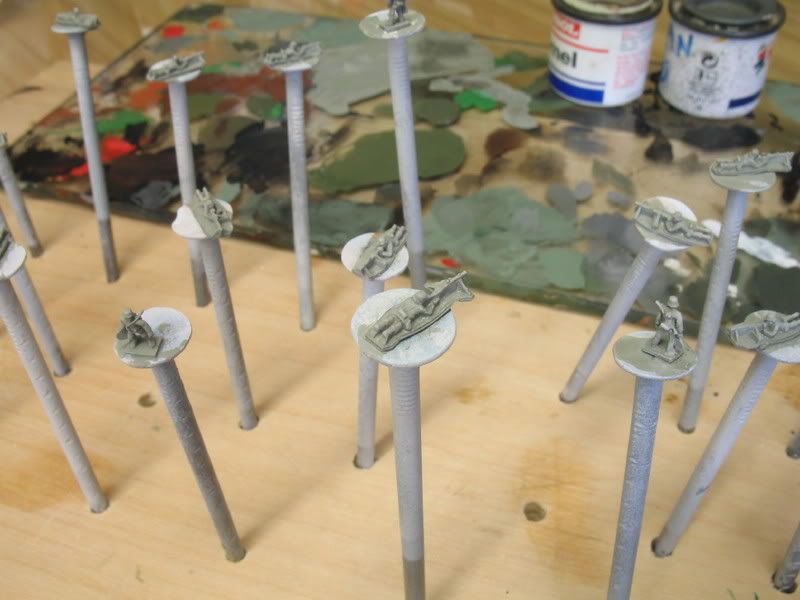
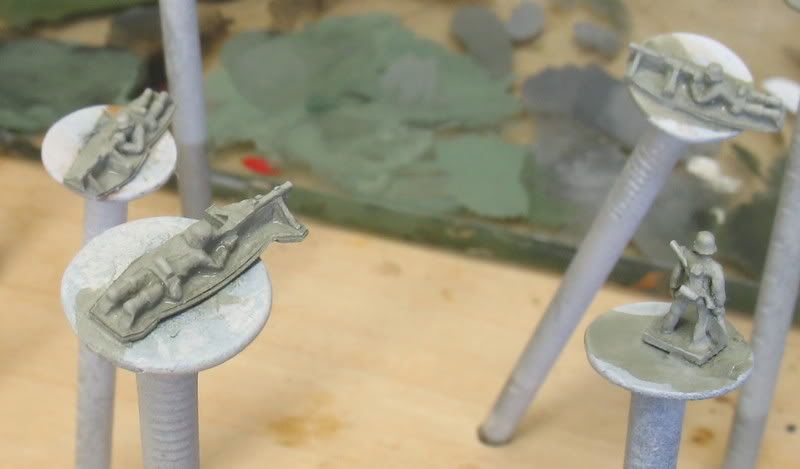
The next step is to shade and shadow the minis. I work with a group of no more than 6 figures at a time as this step tends to work best when the wash does not have too much time to dry.
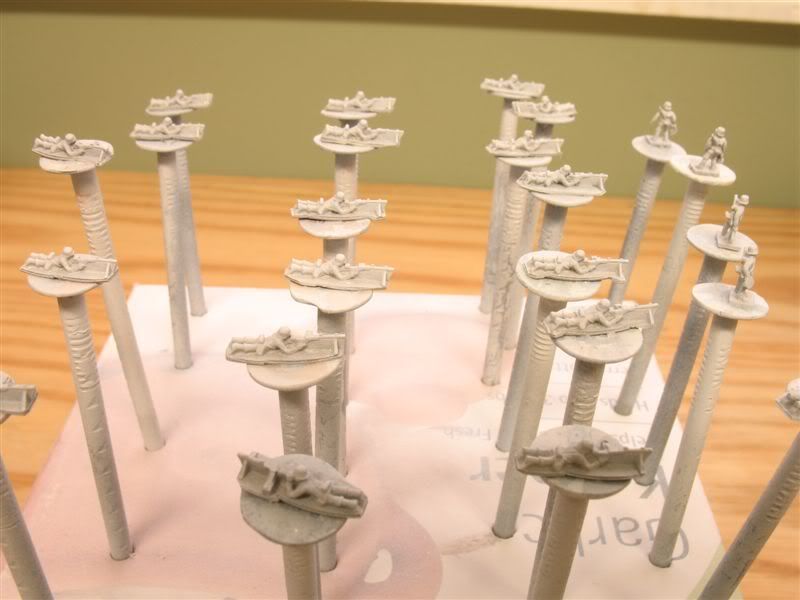
One point I would like to mention, is that if your figures are on the sprue and you don't want to modify them in any way, you can paint them on the sprue without any issues instead of mounting on nails. In fact, if you are painting an army of them, its far more efficient.
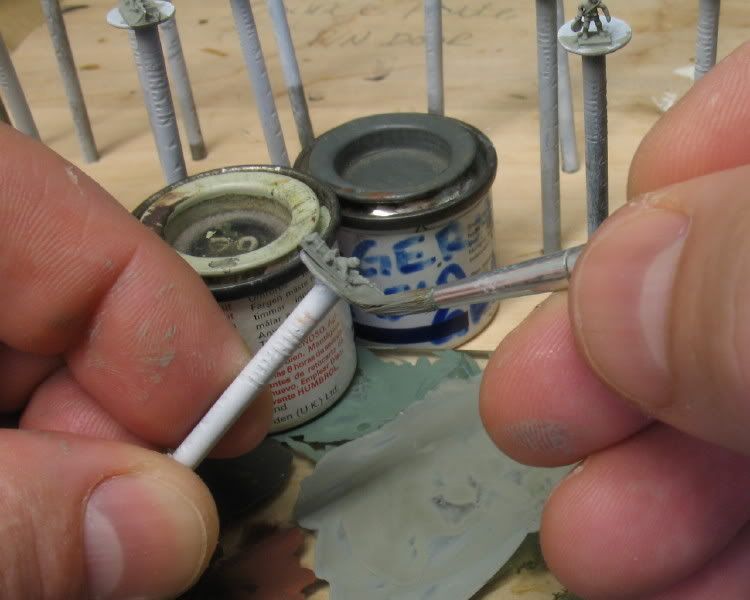
Begin by mixing up a wash of black paint and thinner. It should be watery but not too diluted to show the separated pigment. One of the best paints I have found is the cheap small glass bottle Testors type as they don't have much of a 'bite' and wear easily (something you want with this step!). Also, they are reasonably flat.

I use a small cheap round brush, covering the entire mini. Draw off any excess and set aside to dry a bit. Move on to the next figure and keep them in order, this allows them to dry the same amount of time.

Once you have completed 6 or so figures give the minis about 2 minutes or so to dry.

Get out some clean thinner, a rag, and a 1/2" square-cut soft brush. DIp the brush in the thinner and wipe of most of it on the rag. Have a look at your first figure. If it has lost most of the wet look (the thinner has evaporated) it is ready for the next step.

Begin by sweeping the brush across the figure in a flicking-type random motion. Done right, it should take most of the wash off the raised areas and leave it in the shadows. It also blends and feathers the wash at its edges. If your brush is too wet, or the wash isn't dry enough, this will take off all the wash. Do not overwork the figure as it will eventually remove the underlying basecoat! Practice makes perfect!

Clean and dry the brush every 2 figures. Complete the group and set aside to dry. Finish the rest of your figures in groups of 6 or so.

Next, final Shadows.
Troy
