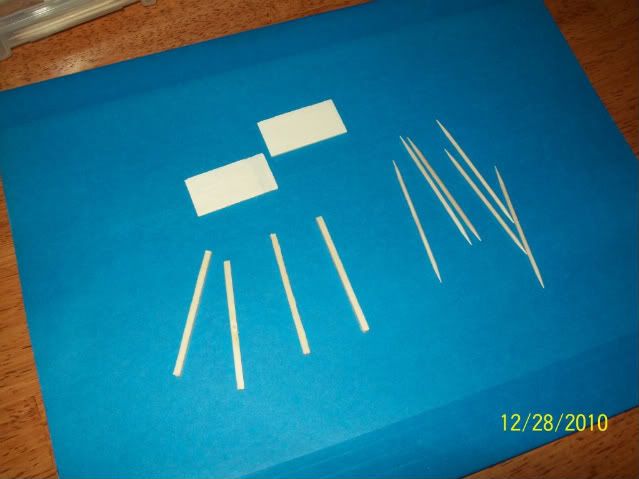
I picked up a pack of what Michaels (craft store) calls "woodsies". They were 2.99 and come in all kinds of shapes, rectangles, squares, matchsticks etc. In the picture below you will see all the parts I used. The rectangles made up the road bed and the matchsticks the guard rail/structure. I cut round toothpicks in 10 mm sections for the support pylons (8 per side!). I pushed the support pylons up through the bottom of the hex to mate with the bridge. I mixed up some wood colored paint and after it dried I dry-brushed a lighter color to bring out the grains. I have an idea to build a better one with much more detail, and also build a truss type out of the parts. Its the first time I scratch built anything in over 15 years! I'm also experimenting with sculpey to create stone bridges but that is a story for a whole other day. By the way the reason you see blue under the bridge is that the hex was previously "finished" until I decided to go a different route on the water color and texture. I did not realize I missed so much until the photo op came up.Mk 1 wrote:Your scratch-built bridge is a lot better looking than my scratch-built bridge! I'd like to know how you cut your match-sticks / toothpicks / hobby wood to get such a uniform result.
By the way I feel that the bridge could have been much better but for a first try I was pleased. I have done a lot of 1/700th scale modeling using photo etch parts on ships and it tends to make me want to be a perfectionist.
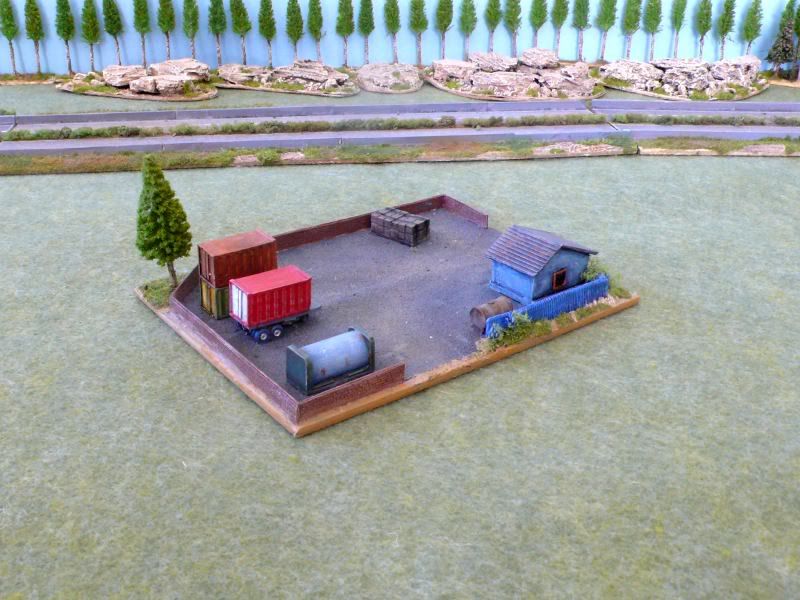
Why yes you "nailed" it (except I used toothpicks) on the head about the construction of the trees. I'm still experimenting with what seems right in the way of foliage. When it comes to GHQ evergreens you can see in one picture that there are two distinct colors of evergreens. One (the bluish looking one) is craft store 1.99 for 20 stems while the darker green ones are from the TM packs. Since GHQ is currently out of stock on TMA-1 I had to improvise. I experimented with the picture wire method to create more realistic trees. No success on my one try, but I 'm not giving up on it yet. I saw some beautiful examples on some of the micro armor websites around.Mk 1 wrote:I believe the decidious trees are home-made. Might be model Railroad course foliage (ground foam) applied to nails or toothpics? They are nicely done in any case. I see at least two colors of foliage on the deciduous trees. That brings more variety, and so more realism. You might also try mixing the colors of the foliage on one tree. I use three colors, and mix them per tree to give some one tone, some two tone, and some three tone trees. Again just adds to the character, making each tree a little more distinct from it's neighbor.
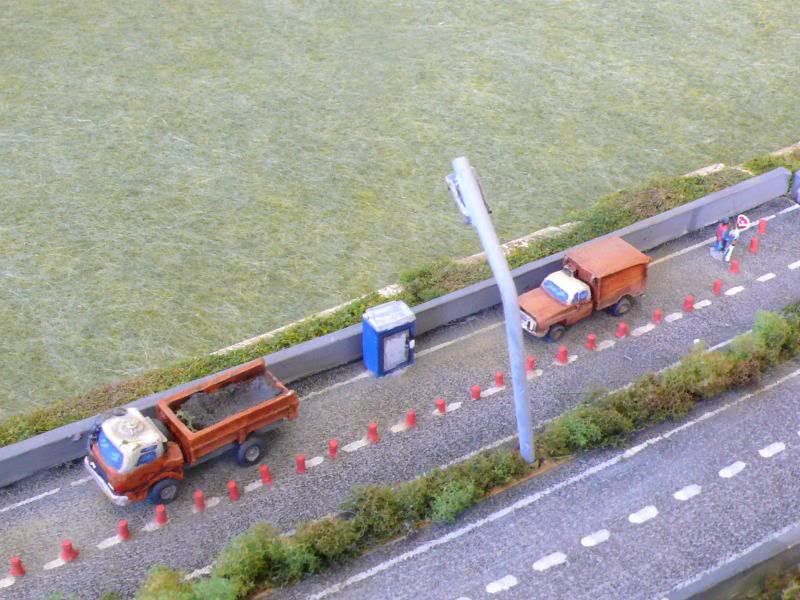
I'm not sure about it either, I think it is too dark and the ballast is too large for the scale. Another experiment that may not keep for the long run. I was actually going for a gravel road look.Mk 1 wrote:Not sure that the paved road is colored right. Maybe too light for asphalt, yet too blue / too dark for concrete.
I actually did not notice until you pointed it out. I must figure out what the deal is on that one. I think it has to do with the way I spread the scenic glue (placed in center and spread outward toward the edge of the hexes). I also do a second coat of base mix and it may not be getting enough of the edges. I really wanted to use static grass but I don't think it would stand up to the 50/50 soak and gaming use.Mk 1 wrote:But ... I also observe that the flocking changes near the sides of the hexes. It seems that the color of the "mix" changes. But I doubt that's the case. So more likely the amount of the flocking declines near the edges. Maybe you "piled" in up in the center of the hex, and it was thinner near the edges (where it kept falling off while you were sprinkling it on). In any case, this draws attention to the hex patterning when many are put together. Might want to figure out how to be more consistent with the flocking out to the very edges of the hexes.
This is why I posted these and I will take a weeks break to gather ideas before venturing forward. Thanks MK 1 I truly appreciate the in depth review.


 [/URL]


 .
.