White metal Kits

This is a general forum for all types of posts related to N Scale models.

Moderators: dnichols, GHQ, Mk 1

Post Reply
nmanica
E5
Posts: 277
Joined: Tue May 25, 2010 7:14 pm

Post by nmanica »

SO as my quest for finding a crane for M.O.W. truck goes on It's time to do something eles (Yeah I need one more project) SO I'm going to trick out the GHQ 50 Ton Lowboy Trailer.

We all know that GHQ makes a killer lowboy I have build 30-40 of them But it's time to TRICK one out .

Image


I'm not going to post all the boring stuff cleaning the flashing off or this or that we'er picking up at the main build but for the ramps


Image

Image

On the front of the trailer are three stubs which I guess are meant for airlines well off they came,then I drilled four small holes were the stubs once sat.

Image

Once the holes were drilled I pulled out some Sunrise Enterprises airhoses,spraed them out and cut them off,now I have power and air lines for the trailers


Image

Image


Image

nmanica
E5
Posts: 277
Joined: Tue May 25, 2010 7:14 pm

Post by nmanica »

K,note the area on the rear of the trailer I am pointing to,they are SCREAMING for details !! and what better detail then Gold medal models deck plateing,

Image

Image


Image

Image

nmanica
E5
Posts: 277
Joined: Tue May 25, 2010 7:14 pm

Post by nmanica »

The best way to cut the deck plateing is by using a very sharp 90mm blade I use them for trimming parts off of the thingy they come on you get a nice clean cut

Image


SO once your ready get a good flat straight edge and score, score, score.and in about 30 mins and two mistakes all the parts are cut out,Before gluing them down they will be filed and test fitted about 12 more times,note the piece on the end of the trailer is one piece this will need more filing to,the area on which they rest still needs some trimming to get the decking lower.

Image

Image


Image

Image


Image

nmanica
E5
Posts: 277
Joined: Tue May 25, 2010 7:14 pm

Post by nmanica »

Next stop the deck,nice to know people and have friends that have lasers sitting in there shops! buddie of mine gave me some of his "mistakes" and I'm going ot make them work.Yeah I did this the hard way but that's just me I guess


Just a wee bit to long.

Image

Image


K this is me being thick headed why I went this route beats me but I'm happy

Image

Just a little more trimming,here again I used a fresh 90mm blade gotta have a fresh sharp fresh blade.

Image

deck all cut to size only problem is its to thick so off to the sanding block


Image

nmanica
E5
Posts: 277
Joined: Tue May 25, 2010 7:14 pm

Post by nmanica »

SO I wanted to have end ramps and I scored them really lighty but they snapped off,no problem the fit is tight enough you can't see the mistake,plus I saved the bit I cut off and will use them to fill in the gaps.

Image


Image

end bits I'll use to fill in the gaps

Image


Now its off to the parts box to see what I can find to add more,also need to come up with a color,I guess once this is done and painted I'll have to build a tractor to pull it !!!


Image

nmanica
E5
Posts: 277
Joined: Tue May 25, 2010 7:14 pm

Post by nmanica »

Sorry for the lag time,been busy not much got done but slow and steady and guess who forgot to paint the rear deck plating ????

Image

nmanica
E5
Posts: 277
Joined: Tue May 25, 2010 7:14 pm

Post by nmanica »

SO at the Portland sjhow two weeks ago guy comes up and ask me if can build two kits for him,sure why not,only thing they are ZZZZZZZZZZZZZZzzzzzzzzzzz scale !!! alot lacking in the detail but nice kit just the same will be alot of hand paniting!!

Image

Image

Image

Image

nmanica
E5
Posts: 277
Joined: Tue May 25, 2010 7:14 pm

Post by nmanica »

Funny thing,for the years I've been building GHQ kits this is the first fire truck !! it's ok I'm not really happy but the next one will be much much better.

Image


Image


Image


Image

nmanica
E5
Posts: 277
Joined: Tue May 25, 2010 7:14 pm

Post by nmanica »

Installed the deck and gave it a light wash x2

Image

Image


Image

Now what do I put on it I was thinking.......

Image

or this
Image

Image

or maybe this ?????

Image


and then I have to build a tractor to haul it !!

Image

StarCruiser
E5
Posts: 397
Joined: Tue Dec 14, 2004 5:42 am
Location: Houston, we have a problem...

Post by StarCruiser »

As usual...WOW! Busy guy!
"It is by caffeine alone I set my mind in motion. It is by the beans of java that the thoughts acquire speed. The hands acquire the shakes, the shakes become a warning. It is by caffeine alone I set my mind in motion." - Programmer's Mantra

nmanica
E5
Posts: 277
Joined: Tue May 25, 2010 7:14 pm

Post by nmanica »

Star,This is just the tip of the icebreg !!!DO you see that RS3 behind the trailer?? that is part of a MRL ballast train plus I post in two other railraod forums !!and this morning out of the blue I began building a kitbash/scratch built transfer caboose for the train !!

L

nmanica
E5
Posts: 277
Joined: Tue May 25, 2010 7:14 pm

Post by nmanica »

Star, I don't think the folks at GHQ would mind if I psot this picture even if it's not a white metal kit and I seem to be a one man show here LOL Here is a picture of the RS3 before I began .
L

Image

nmanica
E5
Posts: 277
Joined: Tue May 25, 2010 7:14 pm

Let the bashing begin !!!!!!

Post by nmanica »

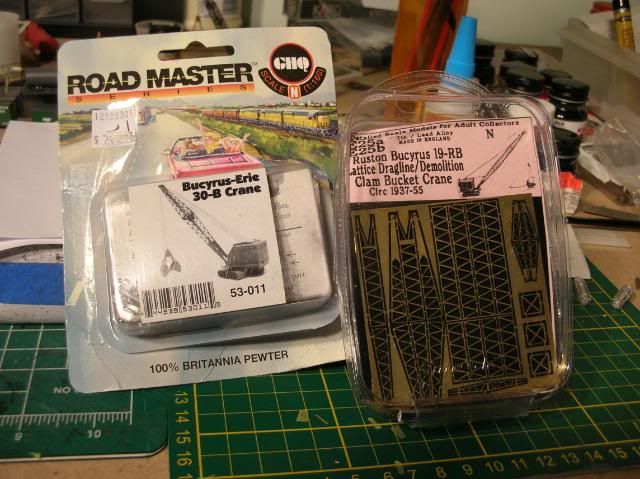
BASHING GHQ BUCYRUS ERIE 30 CRANE & LANGLEY RUSTON BUCYRUS 19.

Sorry for being M.I.A. weather beeen really nice doing alot outdoors,plus I ahd a ton of cutosm painting to do,have four engines left !IF and that is a very big IF I can find the declas for them.
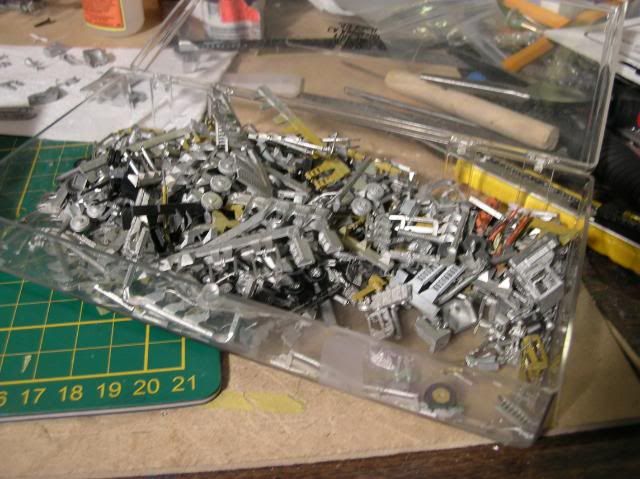
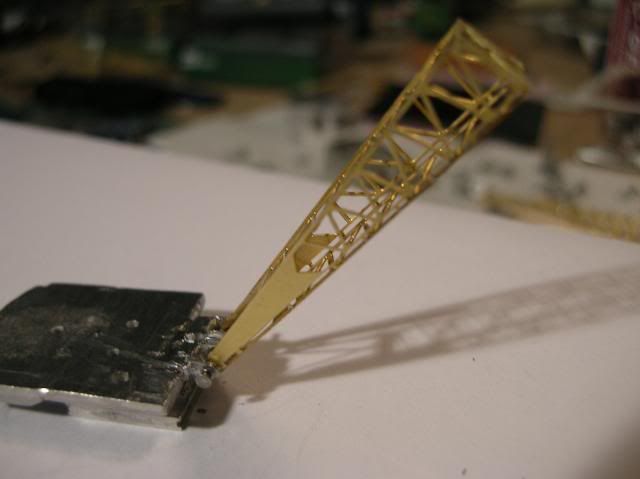
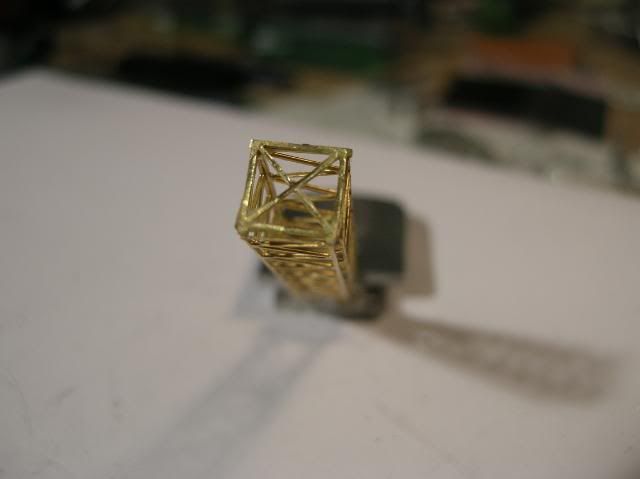
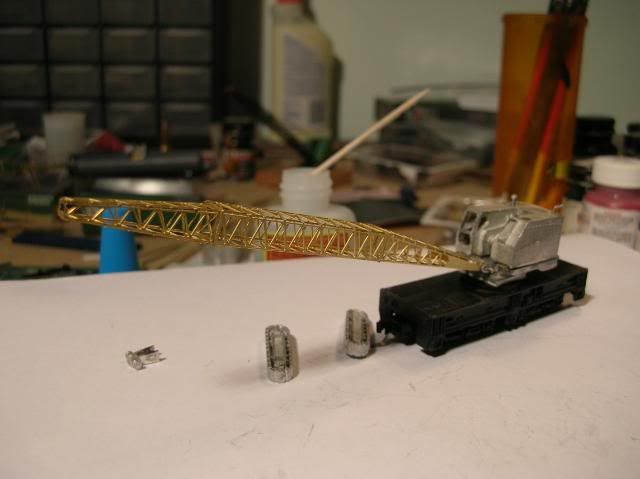
So in the mean time I now have a TON of W.M.K. to build and paint,client stop by and ask if I do a crane but he wants a larger boom and a few other things so I am going ot bash the GHQ Bucyrus crane and the Langley miniature Ruston Bucyrus 19 RB crane.

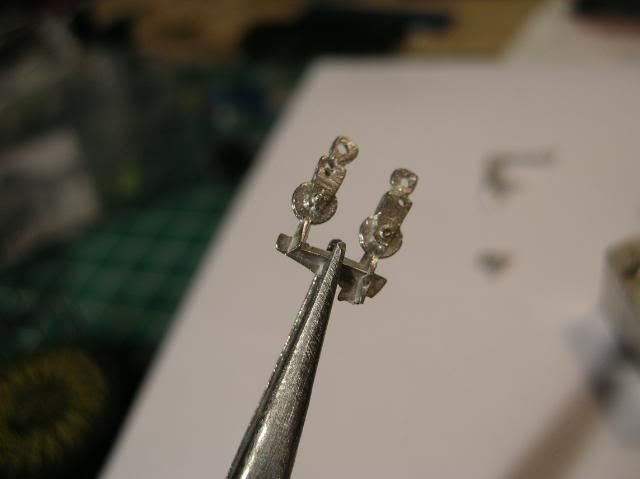
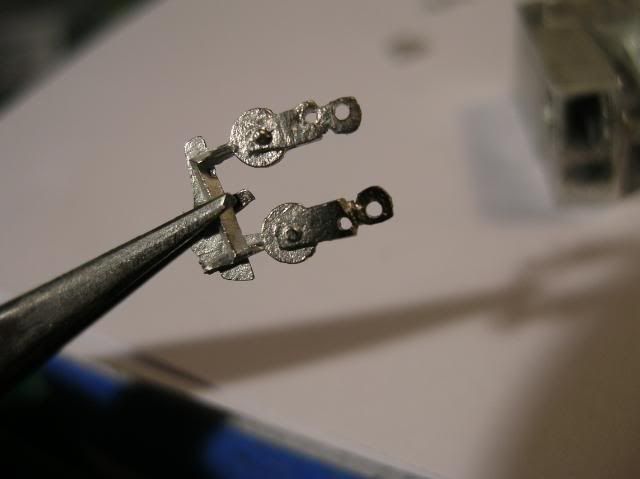
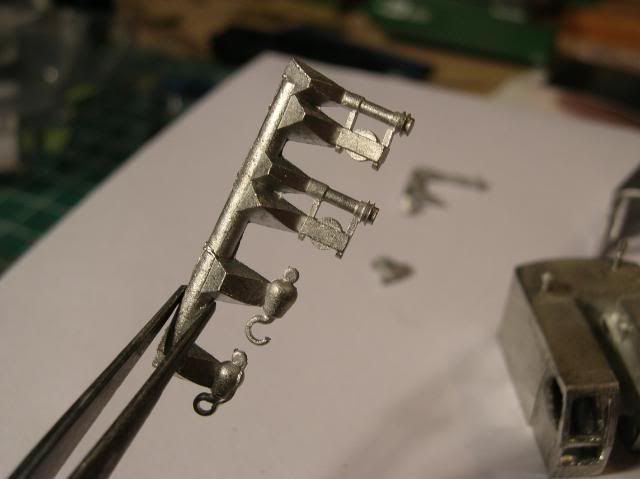
Both cranes have stronge and weak points and I paln on using the best from both kits,sit back relax and what me try and pull this one out of my hat !!!
side by side kit shot

Image

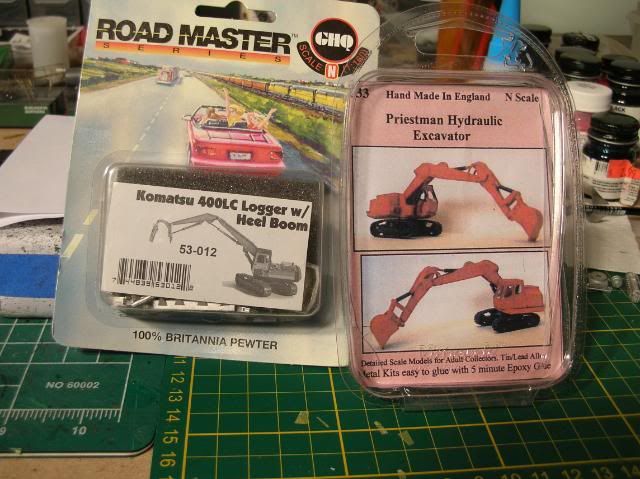
Oh one more thing now that GHQ no longer makes the front end trakced loader the same guy wants one,well I'm not about to give all my kits up so this is a bash waiting in the wings so to say

Image


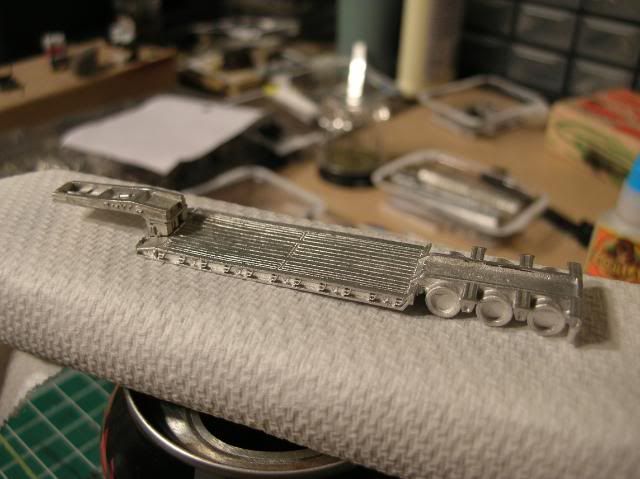
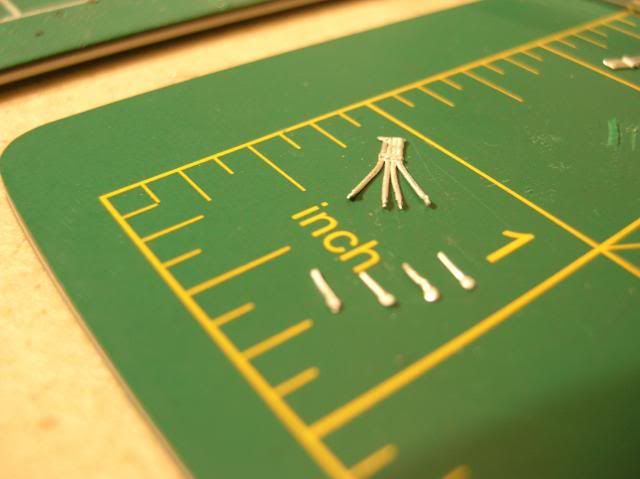
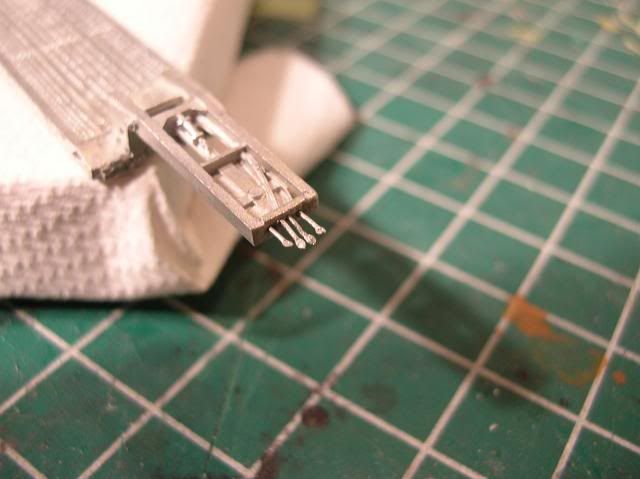
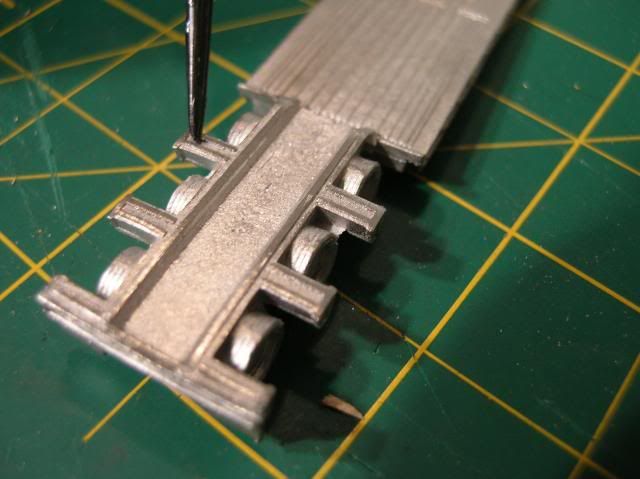
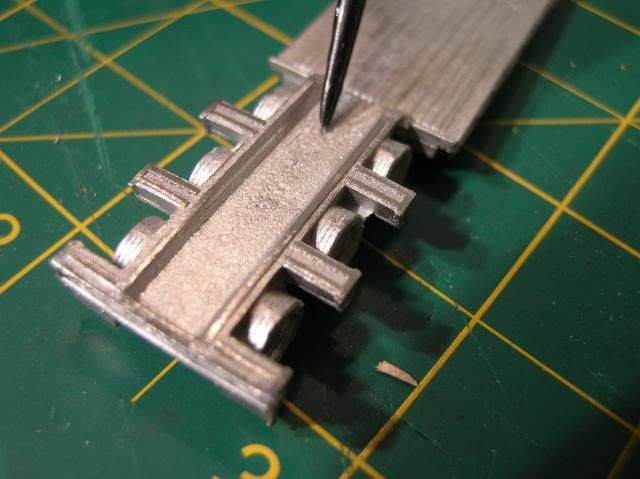
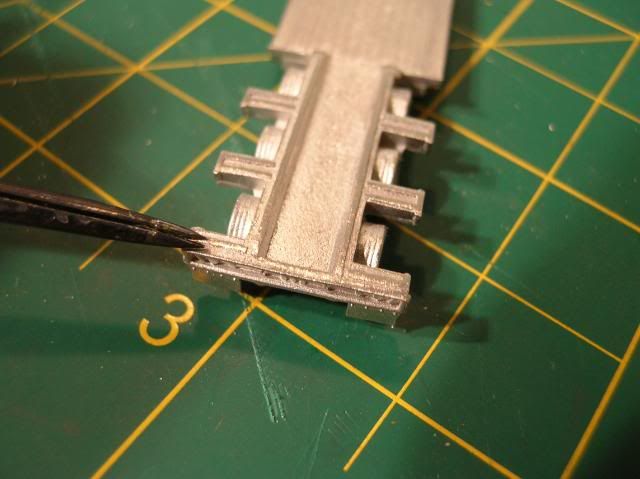
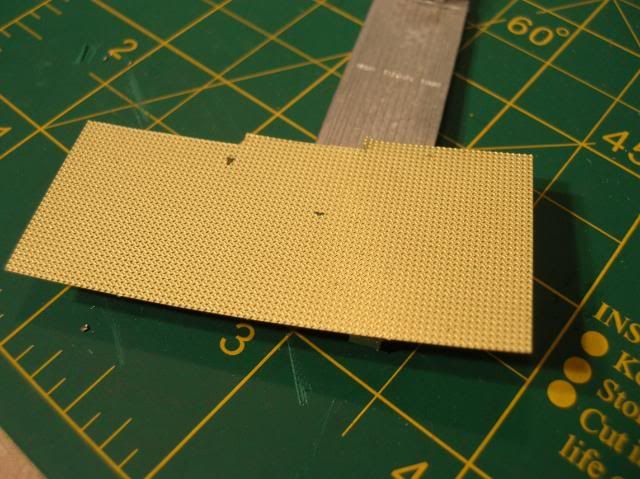
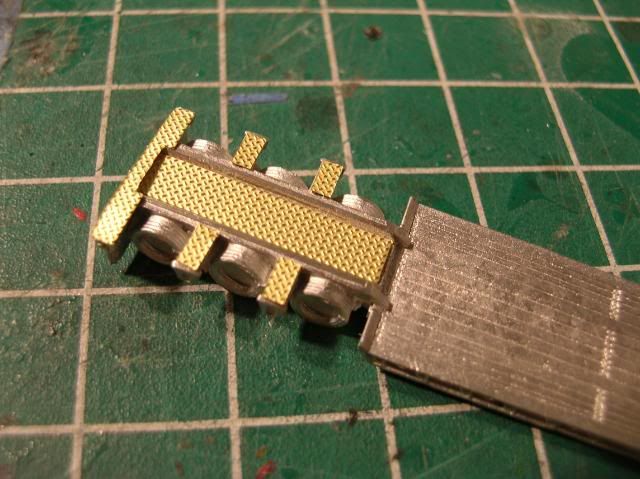
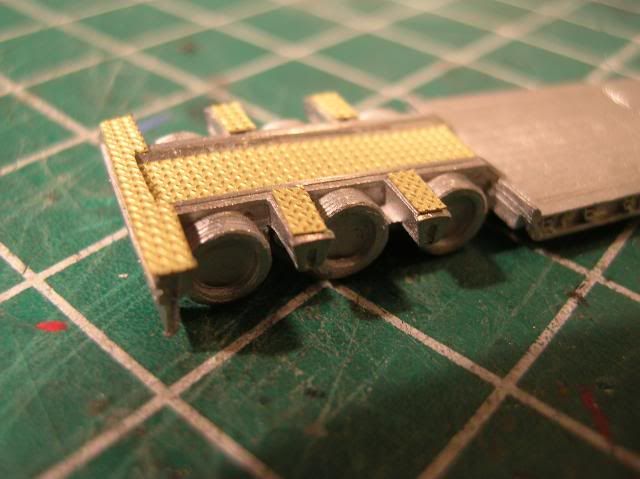
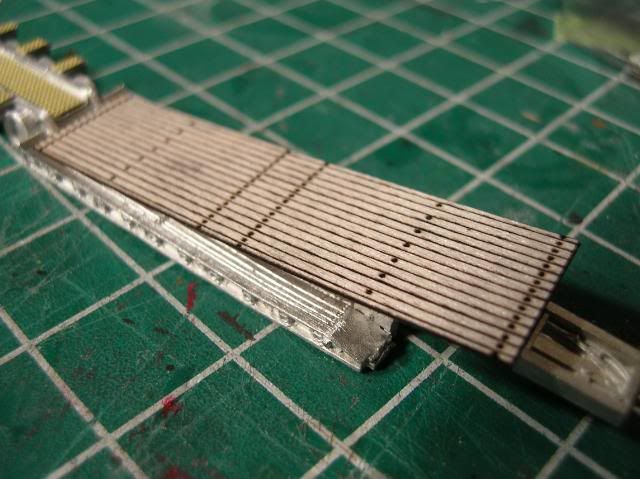
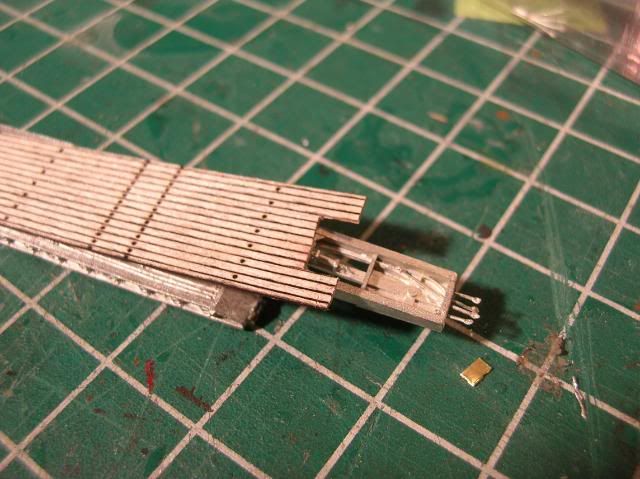
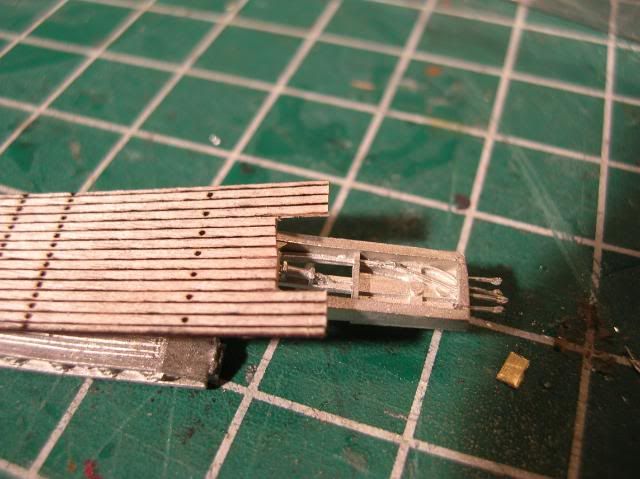
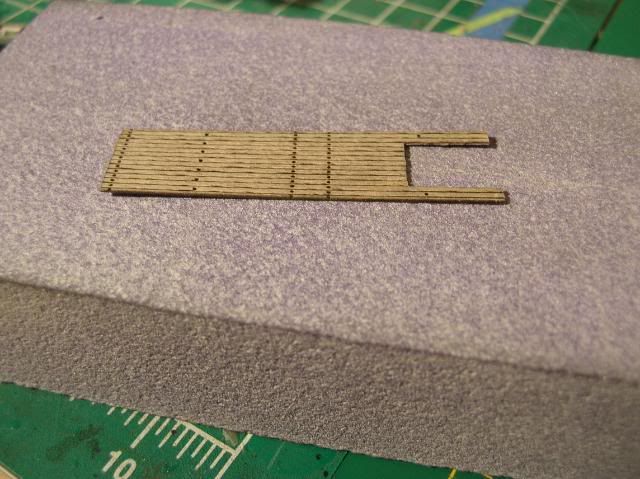
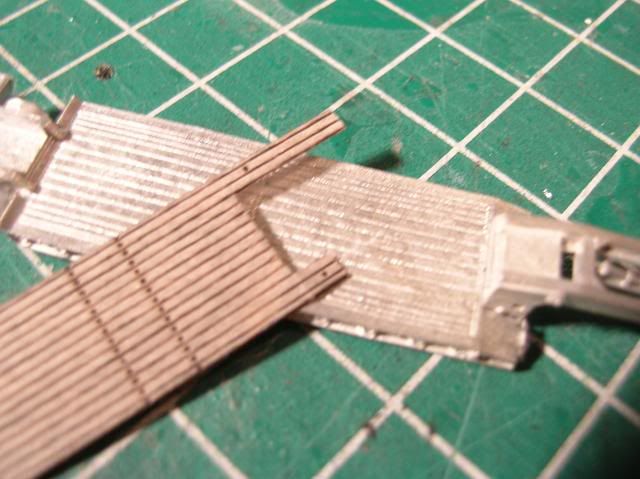
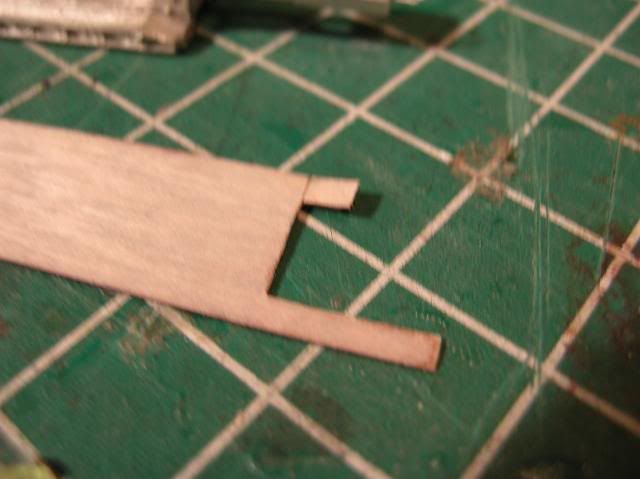
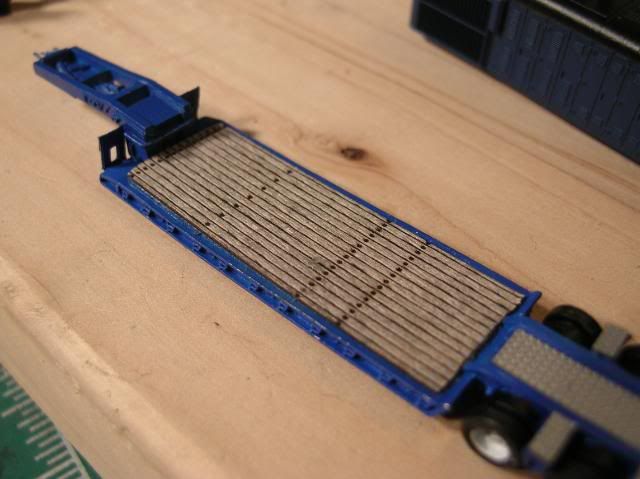
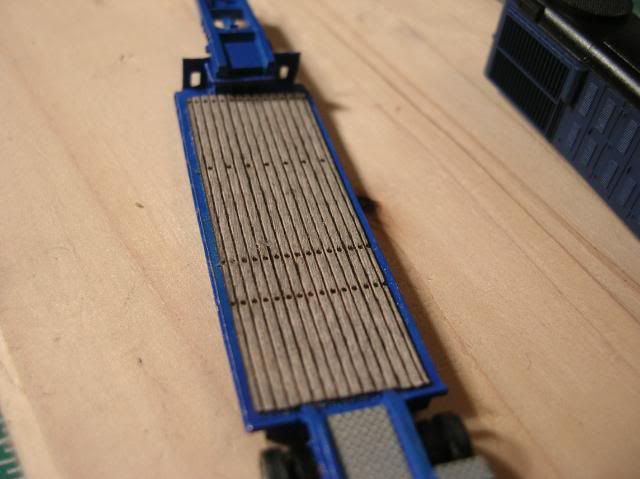
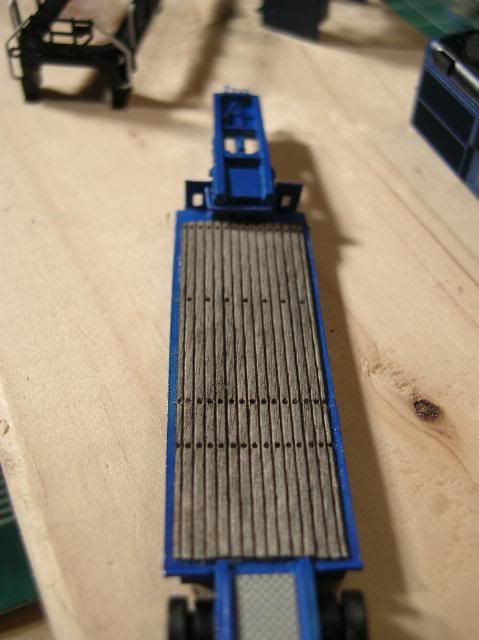
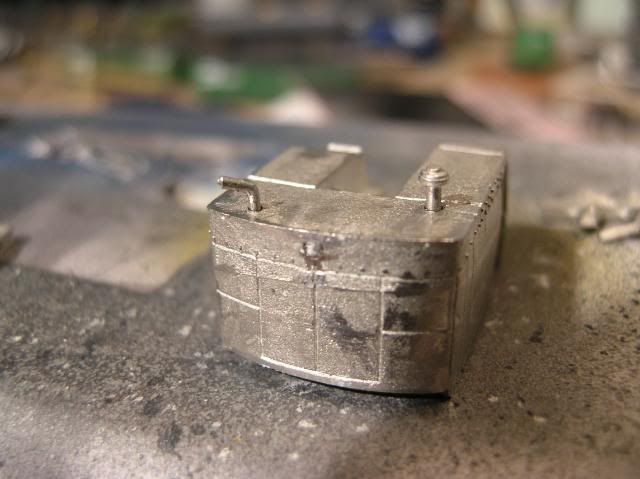
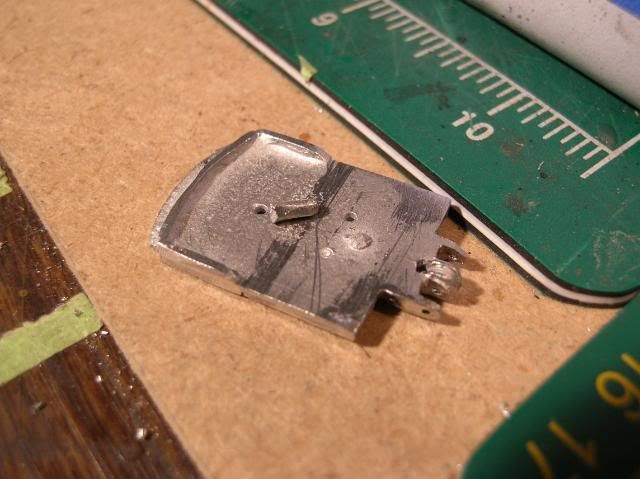
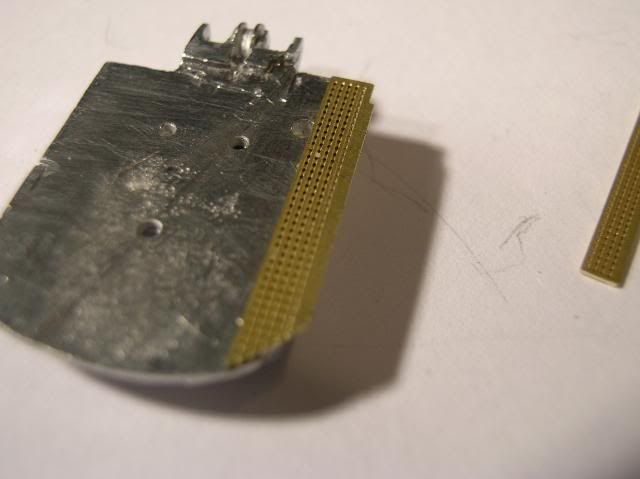
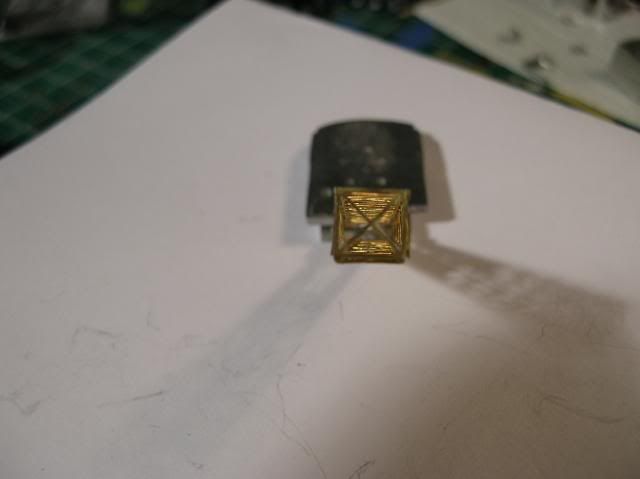
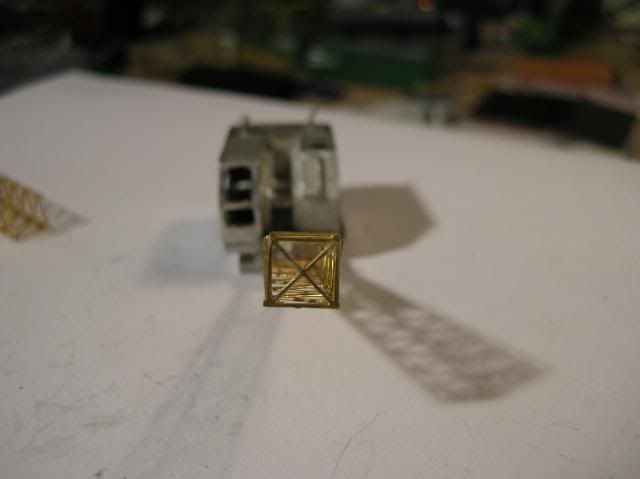
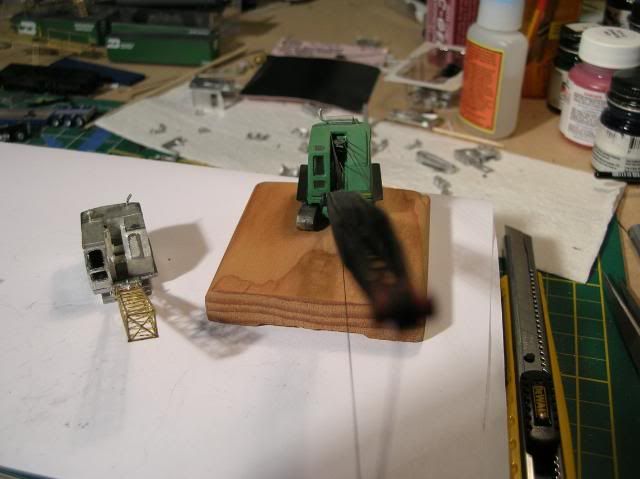
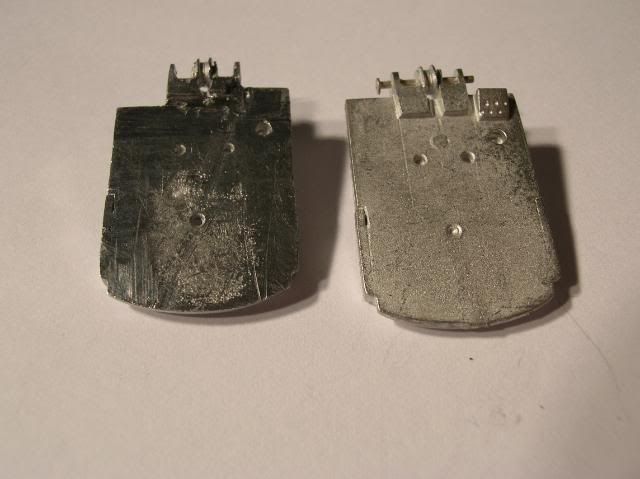
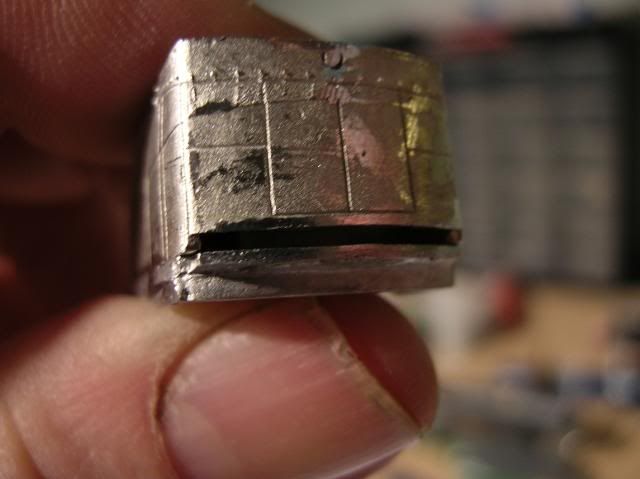
I want to use the GHQ body it's much cleaning and alot more detail but the Langley floor is much better suited for there crane so here is a side by side shot of the floor after it was chopped

Image

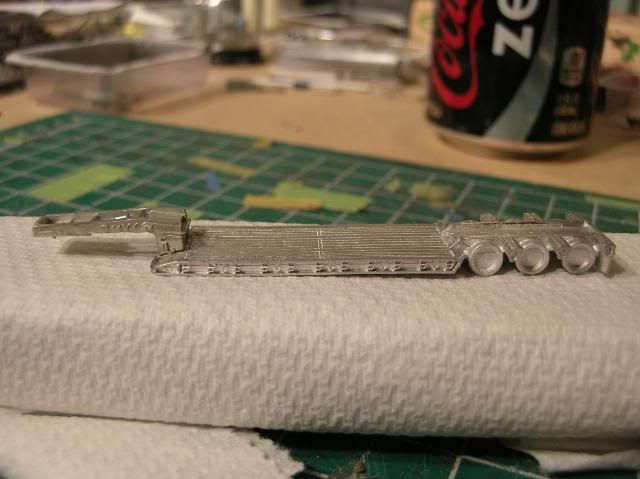
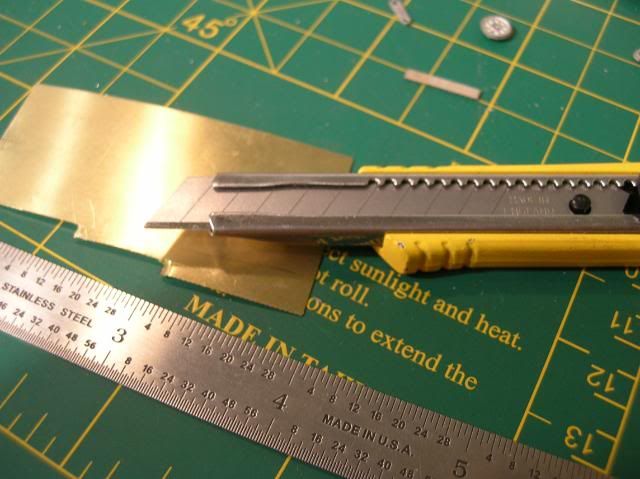
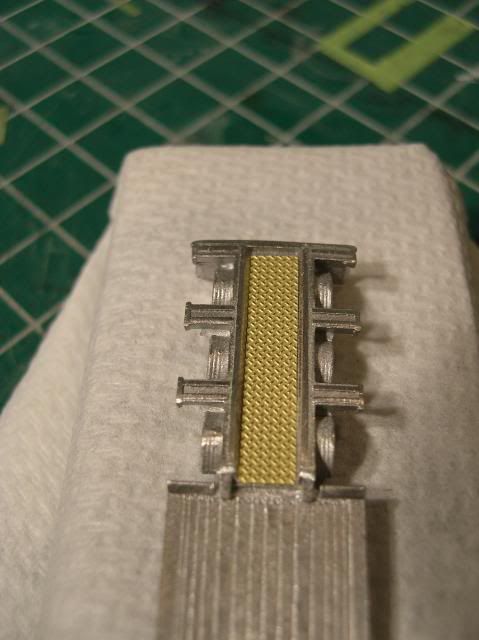
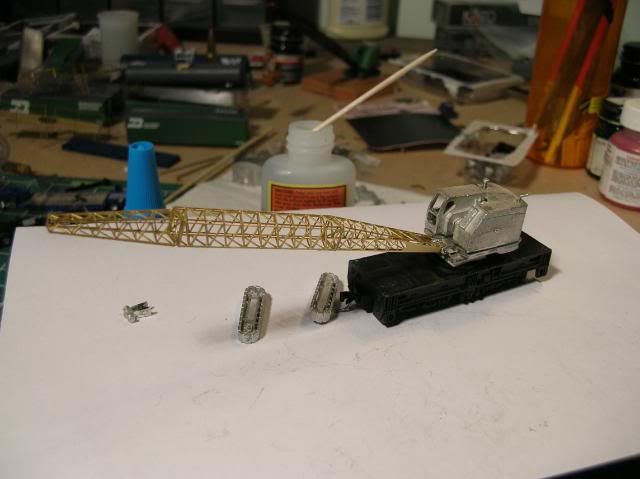
once that was cut the GHQ body dropped right on like is was meant to happen,a bit of over lap on the rear but that is a easy fix.

Image

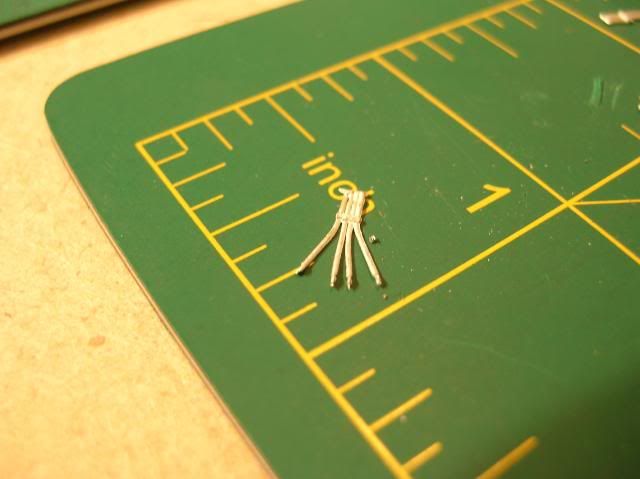
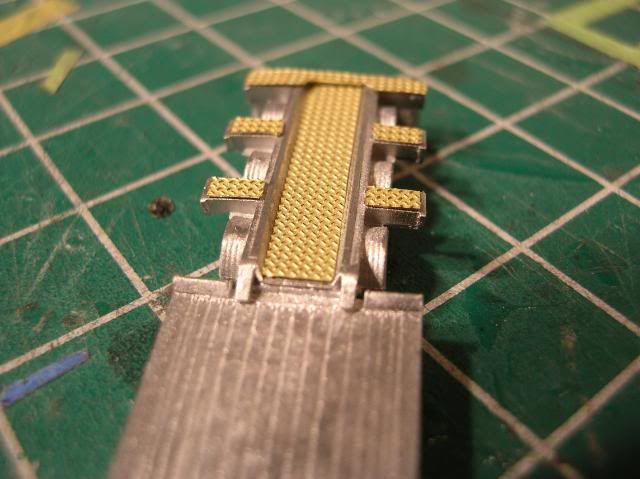
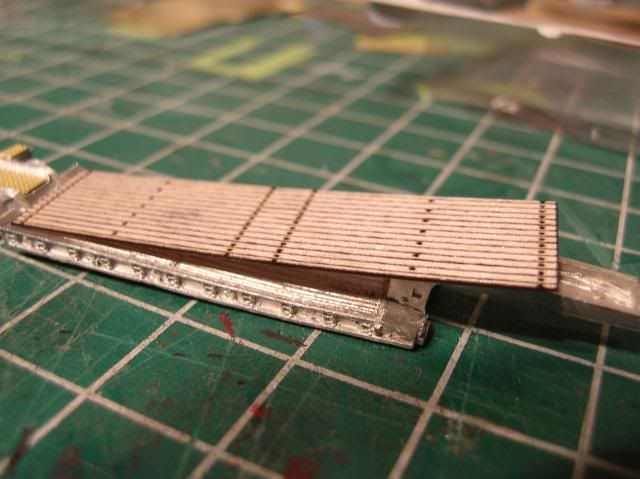
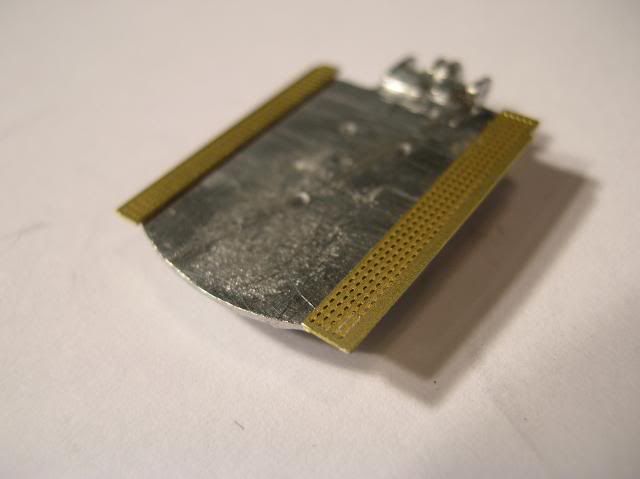
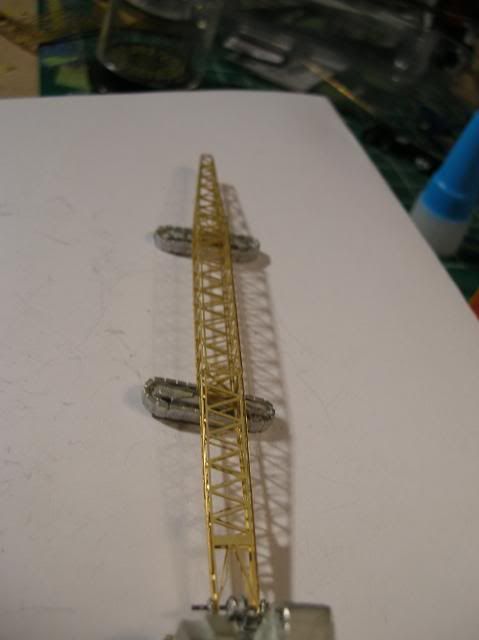
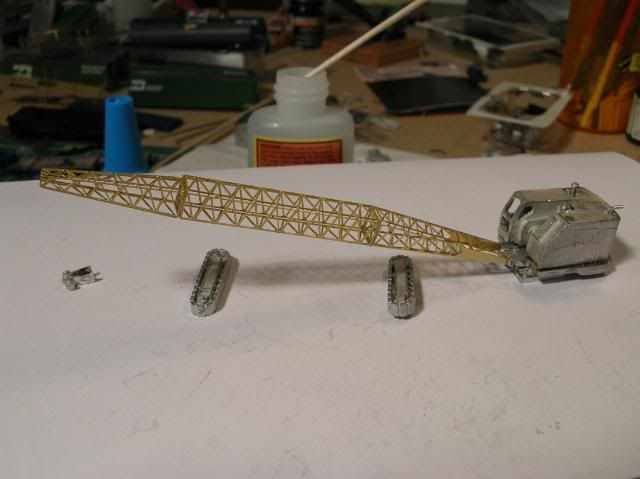
the Langley floor better design for ther boom,plus it comes with a drum in the center for the drag line but can be used fro the clam shell

Image

nmanica
E5
Posts: 277
Joined: Tue May 25, 2010 7:14 pm

Post by nmanica »

The LMM boom built up fast and rather nice,it's really sentive !!! like working with eggs but I used the GHQ center parts as they are finer which I find odd being that the LMM boom is really really thin.

Image

lower boom section with the GHQ part in place,followed by a side by side of the GHQ and LMM center parts.

Image

Image

Next two shots are the trip to the parts box,time to trick it out

Image

Image

Here is the GHQ base which is better sutied for the build as it's nice and flat very litte clean up and just a few mins to bash it to fit the LMM floor on it,as I was test fitting I pused down to hard and broke the pin off the bottom of the deck!!! out came the file and saw fast clean up some glue and all is well !

Image

Image

To use the GHQ cat walks I flipped them over and they fit better upside down and the thick soild part is now on the outside,but I didn't like the look so,chop chop !!

Before

Image

scoring

Image

after

Image

nmanica
E5
Posts: 277
Joined: Tue May 25, 2010 7:14 pm

Post by nmanica »

SO the client wants his crane and boom to have boom blocks !instead of the boom being raised and lowered thur a singel cable from the drum to the mast it cable will go thur a set of pulleis one on each side and then to the anchor point (which will feed off the drum.

boom pully picture holes needed to be drilled but it's going to be slicker then a cow pie after a rain strom !!

Image

Image


SO the LMM will be used as it is a single wheel more sutied for this action and I didn't have drill any holes !! let alone four of them

The LMM pully

Image

Image

The test fit !!!!!!!!!!! this sort of must be done now before one cna move on and I ahve crushed many a boom at this stage.LMM uses a pin to hole the boom in place which I think is great but I forgot to test fit the pin before i bult the boom !!!!!after a little file work on the hosuing and some drilling on the boom it FITS !!!!!!!!!

Image

For the life of me for as many as I have built I can't seem to get them dead on ??????? this one fits better then most of course it's not for me !!

Image

Image

Image

side by side last crane and the WIP

Image

Last pictures are of testing parts,catwalks fitting the boom adding the GHQ pully section on the boom,this part worked out GREAT have one center pully and the two side ones.

Image

Image

boom up and with the pully head installed,enitre crane sitting on the car body,oh yeha its a moblie crane .

Image

Image

Image

Image

Post Reply