As mentioned on another thread, I acquired my collection in bits and pieces. Some I bought and painted, much I acquired from silent auctions, flea markets and horse trades. So naturally my :army" is more of a hodge podge of unrelated parts. Time to fix that. Since they are in every game and therefore get the most use I'm starting with my German army. Now that I've settled on my Flames of Awesomesauce rules (home brew variant of Flames of War) I know how to base and organize my troops. So rather than do a new thread each time I tackle another unit I'll just keep updating this one over the coming months.
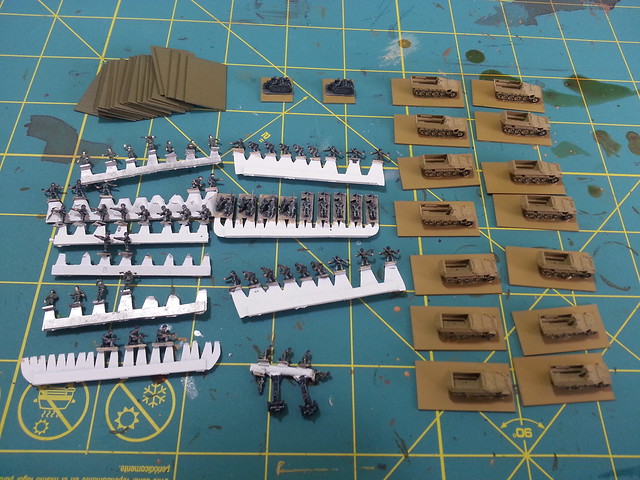
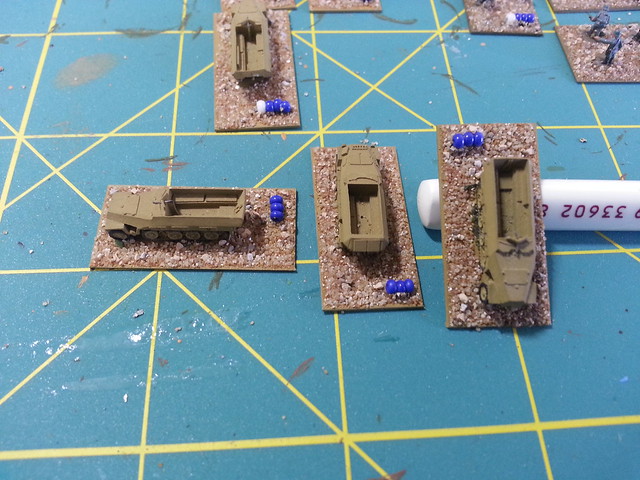
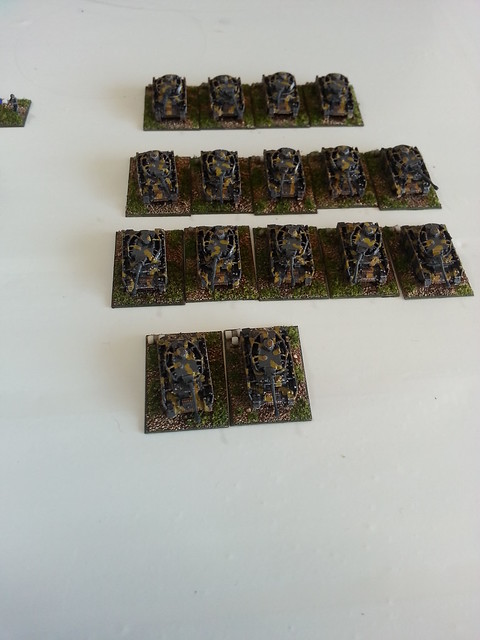
I just finished a new tank company of Panzer IVs (pics tomorrow) and have decided to do a company of mechanized infantry. Besides the infantry themselves, I'll need 4 half tracks for each platoon, plus 2 for the HQ, I'll also need one anti-tank stand and a handful of motorcycles. I don't have any motorcyles (just ordered some) so for now I'll work on a couple Kettenrads as a proxy. Here is what I'm starting with:
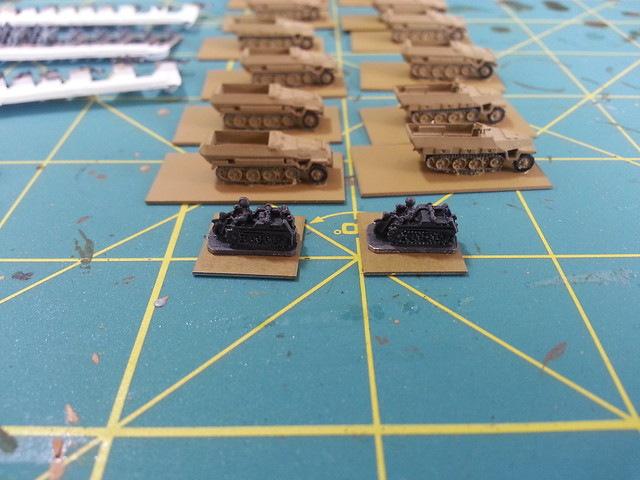
Here is a close up of the vehicles. Not GHQ half tracks and just a simple spray job at the moment. So I'm going to gussy them up and finish off the basing. Eventually I'll replace these models with better (and the correct vehicle) from GHQ.
Mark Severin
Owner, Scale Creep Miniatures
Author DeepFriedHappyMice.com
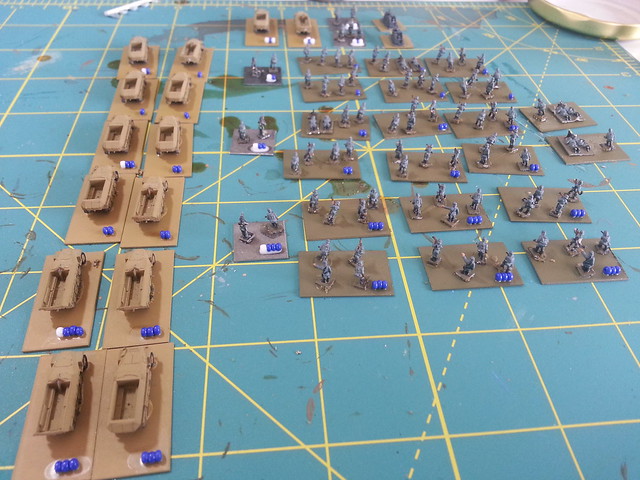
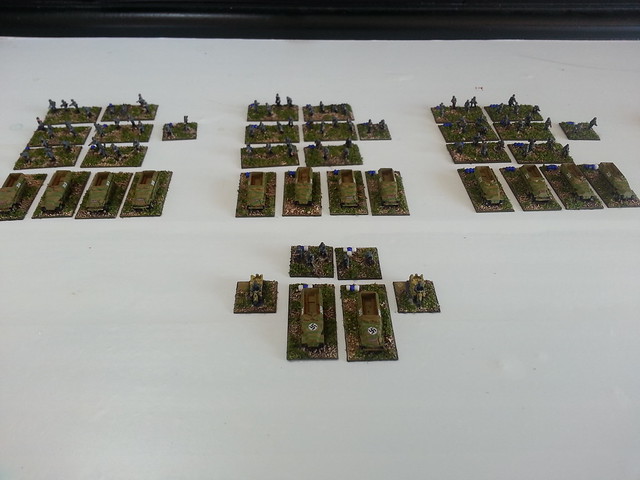
Made a little progress today. I got all my infantry sorted and based. I also added the unit ID markers to the stands and the tracks as well. I use "seed beads" to mark each stand. Platoons get 1,2 or 3 beads to denote which platoon they belong to. Squad leader gets a white bead to the left. Company command gets two white beads (one on either side). I use special colors to denote certain weapons....HMGs are red, flamethrowers are marked with an orange bead and so on. Here is a shot of the company waiting for touch up and flock:
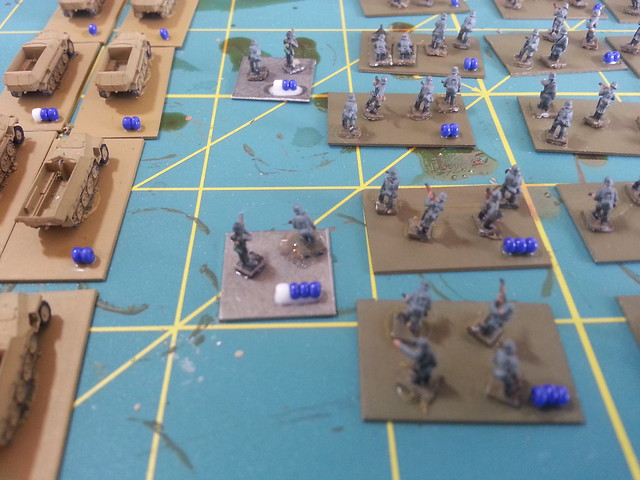
Here is a close up the infantry showing the unit ID beads:
The stands are 1/2 Flames of War scale so 25 x 16mm. "Small" stands are slightly oversized at 15x15mm. I base all my vehicles for storage/transport as well as to have a place for the ID bead markers. All bases are Wargames Accessories (some are custom sizes). I sell the bases at Scale Creep Miniatures Get in touch if you need some....
Mark Severin
Owner, Scale Creep Miniatures
Author DeepFriedHappyMice.com
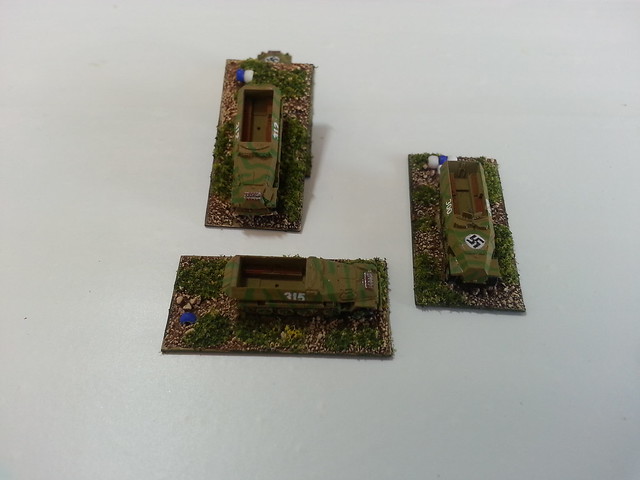
Last night I finished up my next batch of Germans. This was the first unit that required painting and touch up. The infantry just needed touch up on helmets and a few raised areas, so only took a few minutes. I decided the tracks needed a full paint job. I added green camo and then did what I thought was a very light brown wash. It darkened the yellow much more than I anticipated. Next time I'll wash, then drybrush, then do camo. I also painted some detail and added decals. I'm not sure the two swastikas are "historical" but they do help the command troops stand out. I tried to do the crosses for teh tracks but the decals I think were old and just fell apart.
Here is what I started with as far as the halftracks go:
And here they are finished:
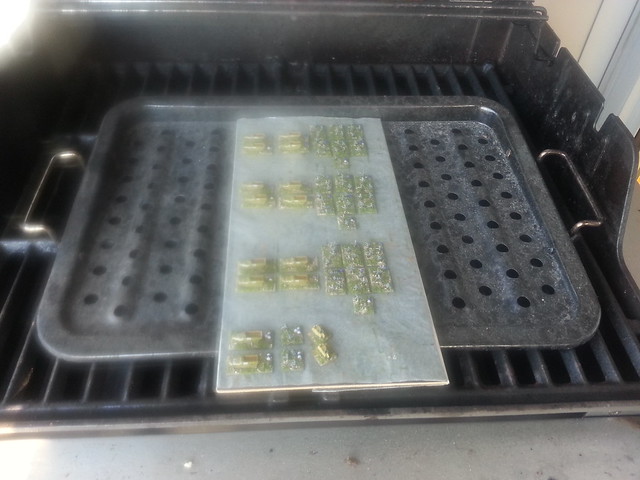
Here are the troops drying after a few coats of varnish. Make sure the grill is turned off before you try this at home kids!
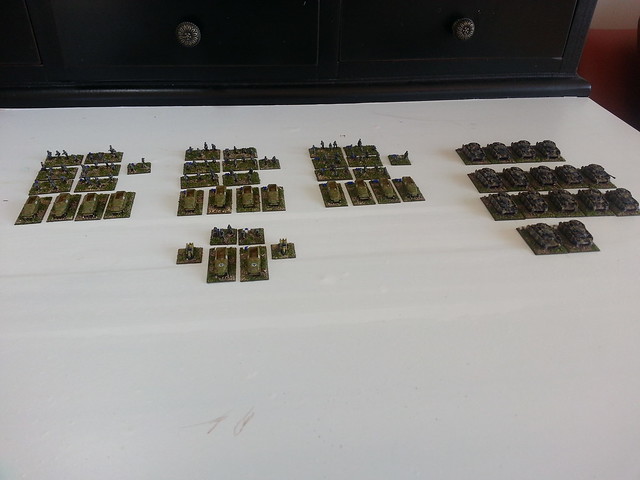
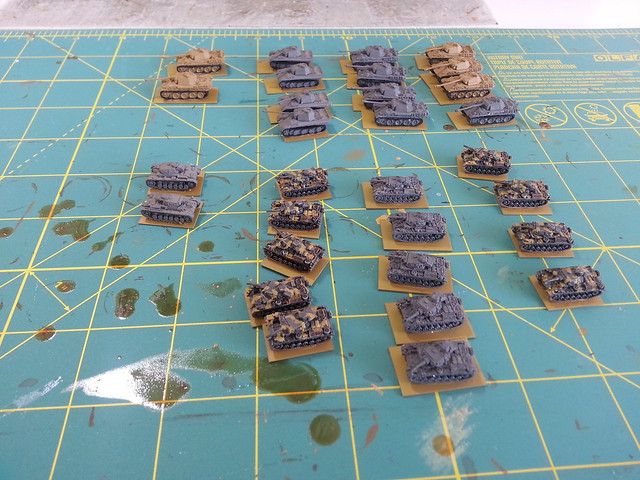
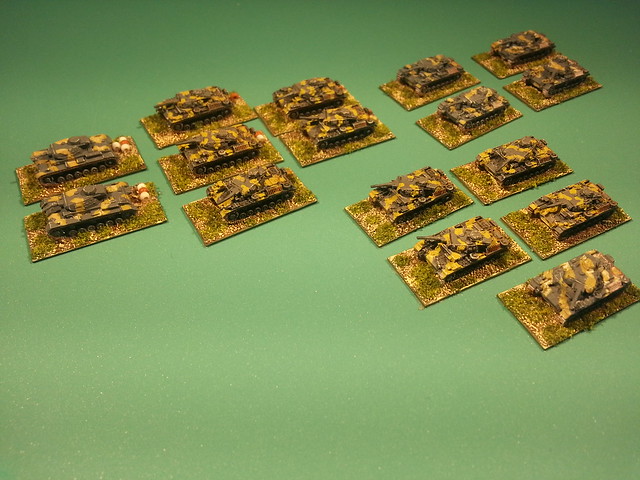
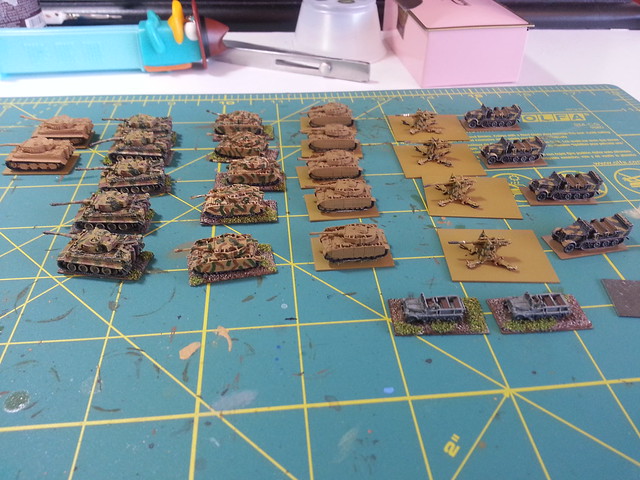
The work so far: one newly organized tank company and one newly sorted mechanized infantry platoon:
Close up of the armor:
Glamour shot of just the infantry:
Mark Severin
Owner, Scale Creep Miniatures
Author DeepFriedHappyMice.com
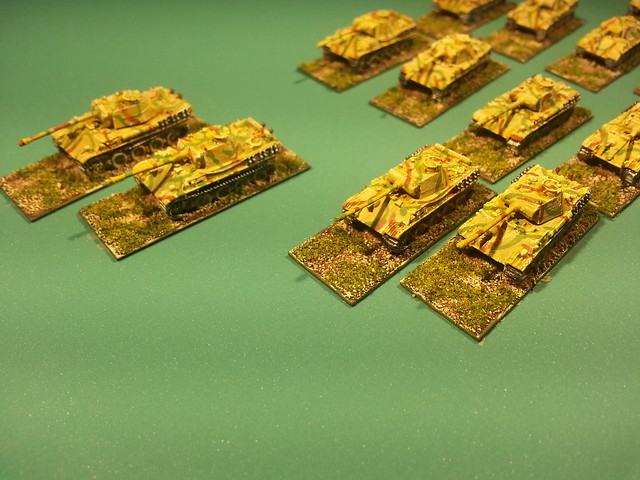
Up next: two more tank companies. Panzer IIIs in front, Panthers in back. Note that one of the Panther platoons is a 1/300 manufacturer. The size difference might bother some, but not me...
Last edited by Extra Crispy on Fri Jul 29, 2016 9:41 am, edited 1 time in total.
Mark Severin
Owner, Scale Creep Miniatures
Author DeepFriedHappyMice.com
No picture today. Last night I glued all the tanks to new bases and started on the Panther company. Ouch.
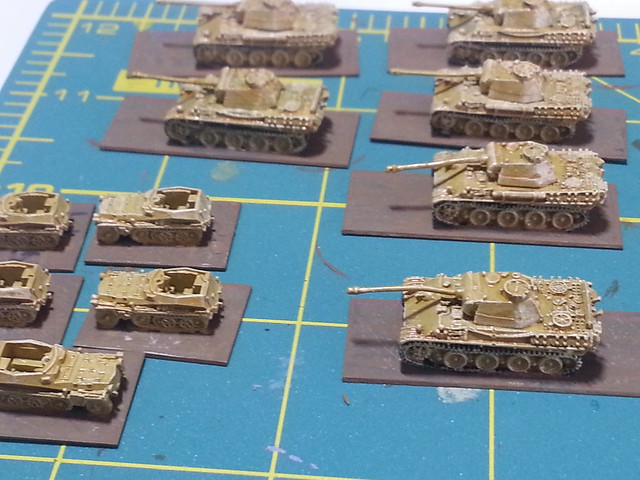
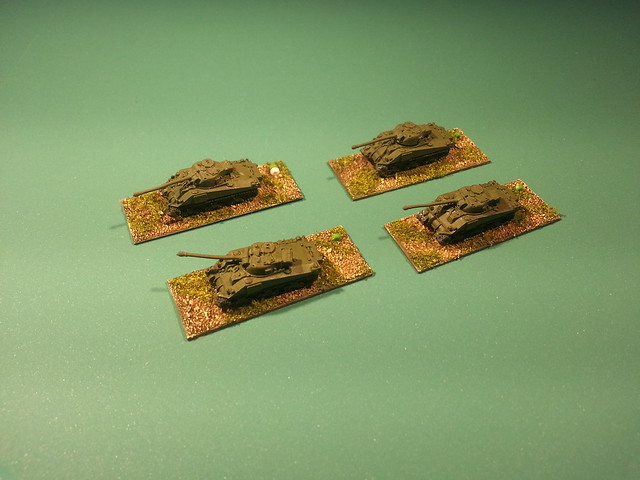
The Panthers were given heavy coats of spray paint, with turrets heavily glued in place. I know I could try and strip them but frankly I'd rather just buy new. So for now I have given them all a coat of Coat d'Arms Dark Sand, followed by a thin brown wash to bring out the detail.
The plan is to dry brush them then add camo and do detailing. But these have moved to the "to be replaced" list.
As for the company of Panzer IVs, I have the HQ and one platoon to paint and try and match the camo on the others. So today I will search for a tan color that matches (or is close enough) the tan on the two nice looking platoons. Then detailing and basing....
Mark Severin
Owner, Scale Creep Miniatures
Author DeepFriedHappyMice.com
Like cama said - acetone. Use a stainless steel vessal, though. The acetone will loosen the cyanoacrylate glue. Wash 'em off and dump 'em in a tray of paint remover to get the paint off. Takes about a day.
Keep the acetone separate from the paint remover. Don't let the fumes from each get together. Remember both are flammable and acetone may spontaneously combust if around excessive heat sources (ie keep it away from the water heater, oily rags, etc, and dispose of rags. Don't wash, then dry in the laundry dryer - remaining residue may fire up from the dryer heat. Read and heed the warning labels or you may find yourself reciting that well-known signature about "something-something, and you'll see..."
I did the paint remover first, then the acetone, and, after washing with water,used a stiff brush (not steel-wire) to help dig the paint out of crevices. It was most satisfactory.
New IS an easier option, although the paint remover and acetone are cheaper.
I have a major refurbishing in mind for my H-series M60A1 and Mech battalion.
All blessings flow from a good mission statement.
Pogo was right. So was Ike.
"A Gentleman is a man who is only rude intentionally." (Churchill)
Give credit. Take responsibility.
I don't think tis was "primer." I think these were spray and play. A few had black tracks. There were even obvious missed spots. I think things were different back in the day
After reading about acetone I'm going to pass. In a condo there's no real place to keep that stuff. So if these ever bug me I'll buy some new ones and unload these here. I mean on EvilBay.
Mark Severin
Owner, Scale Creep Miniatures
Author DeepFriedHappyMice.com
Extra Crispy wrote:I don't think tis was "primer." I think these were spray and play. A few had black tracks. There were even obvious missed spots. I think things were different back in the day
In the mid 1980s, a good friend bought about $300 worth of GHQ's Russian armor and about half that in German armor. For the Russians, he put them on the painting stick, glued the turrets to the hulls, and then sprayed them with Testor's Sherwood Forest Green. Once they were dry, they went into the box to be used for the next game.
Okay, just a quick update. The Panzer IIIs have been painted gray and are awaiting camo and detailing. Here are the Panthers after a base coat, brown ink wash and dry brush. You can see some half tracks getting the same treatment....I'll probably finish the camo and detailing on these tonight, and the Panzer IVs tomorrow.
Mark Severin
Owner, Scale Creep Miniatures
Author DeepFriedHappyMice.com
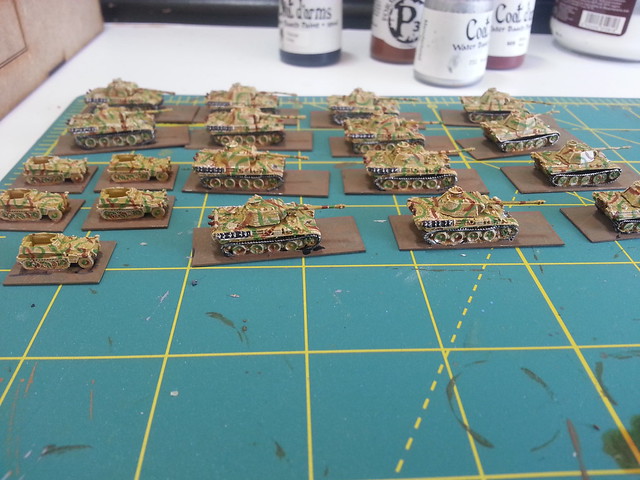
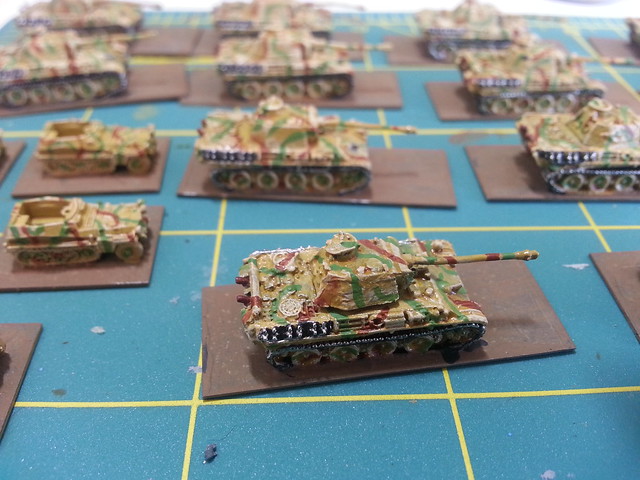
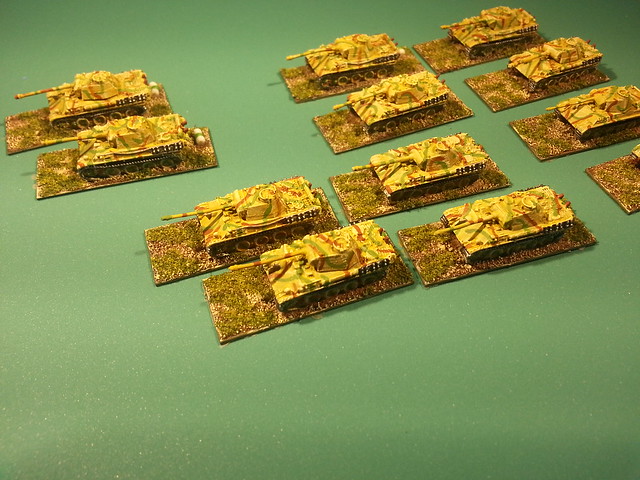
Just another quick update on the Panther company. The base camo is done, just need to finish the details, the deals and then the basing. Which reminds me I need to order decals! They look a little rough but are certainly good enough for the gaming table. If they really bug me I'll replace them with new models. But to be honest, I don't use a lot of the big cats in my games. Doing a few 250s at the same time. Colors used are all Coat d'Arms: base coat Dark Sand, drybrush Bone, cam with Camouflage Green and Red Brown. Tracks are Panzer Grey highlighted with Vallejo Natural steel.
Close up of the Panther colors:
Mark Severin
Owner, Scale Creep Miniatures
Author DeepFriedHappyMice.com
I asked around and apparently they were (rarely) platooned together. So this is for those rare occasions when I want to be mean to the German player.....
Mark Severin
Owner, Scale Creep Miniatures
Author DeepFriedHappyMice.com