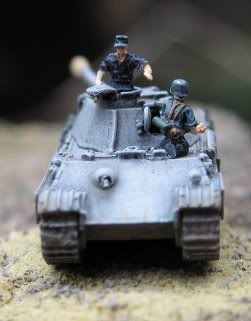
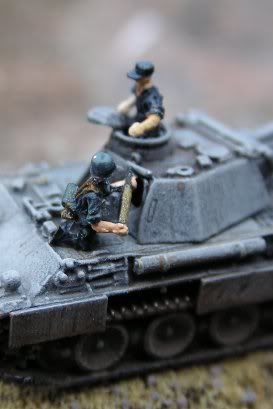
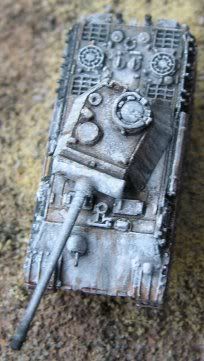
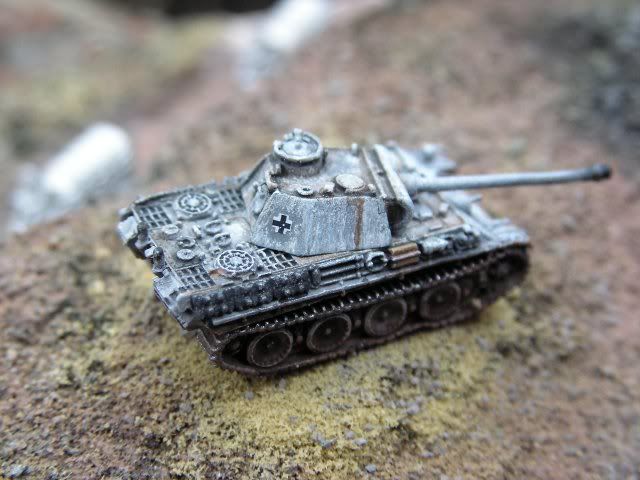
Thanks guys, I thought I'd take a few pics of the production process if anyone's interested.
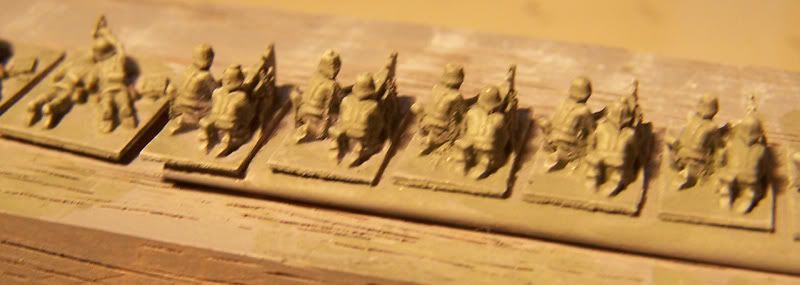
I started off by rolling up lengths of sticky tape along a piece of wood, so I could stick the infantry models on. I tried using nails, but got so fed up waiting a couple of minutes for each model while the glue set. This way seemed to work, I'd only suggest leaving more room between the models to get a paint brush in.
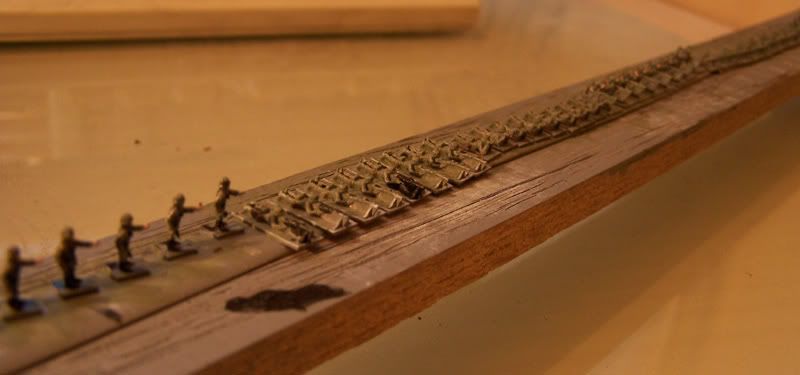
I used grey car primer to undercoat, then used a rough pure white dry brush to lift out the raised details. I re-discovered this from the GHQ catalogue on painting, but used grey instead of black to try and help lighten the figures. Stuff I've done before has usually come out too dark.
I applied a watered down and lightened mix of Vallejo Field Grau. As you can see, the shading still shows through.
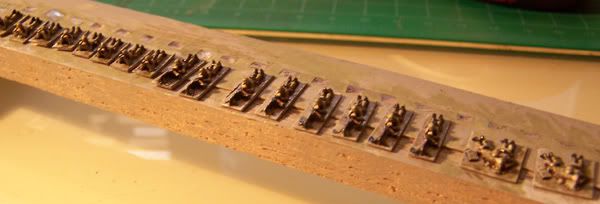
I 'blobbed' on the detail with a fine brush, then applying a black/brown ink to 5/10 part future wax wash (depending on how dark I want it, in this case it was pretty heavy). The way it clings to details hides any of my shakey painting sins. (Another little tip, which is probably very obvious, try and support your painting hand and the model with your other hand, using any hard surface as well. This really helps to steady up any DT's from the night before)
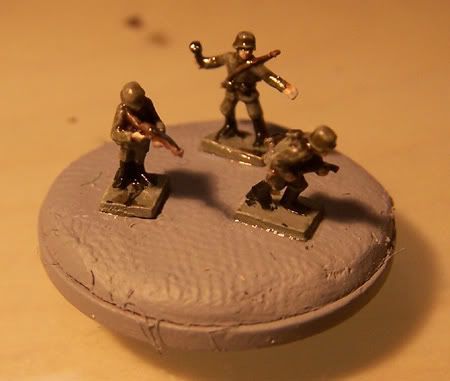
Stick onto primed base, then use an emulsion and sand mix for texture. Wash the base, then dry brush to hi-light. Lastly flock and dull coat.
Job done with very little fuss.
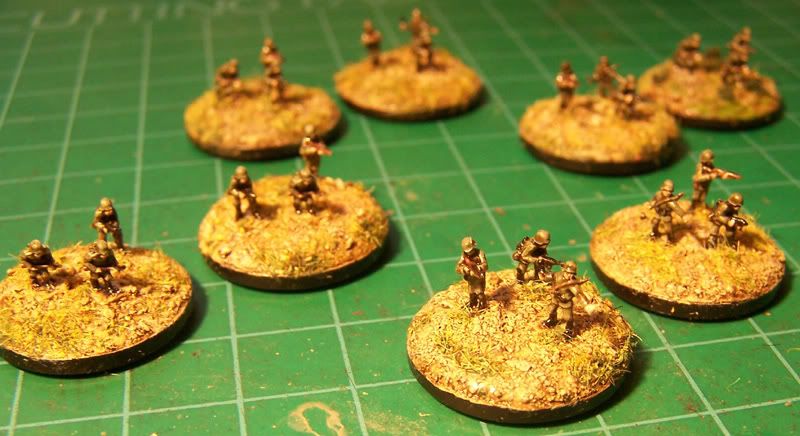
Platoon waiting for 4 lmg and comand stands.
